

Video Editor · Article 5 of 18
Adding Media to New Pages
Overview
This walkthrough demonstrates how to add a new page to a project in the SuperDegree Slide Editor, explore options for adding media, upload a video, and preview the playback on the timeline. Starting from an existing project inside the video editor, you can expand your presentation with blank pages and insert reusable media assets.
Steps
Step 1 — Add a new page
Click Add new page (the plus icon) along the page strip to insert a new blank page into your project.
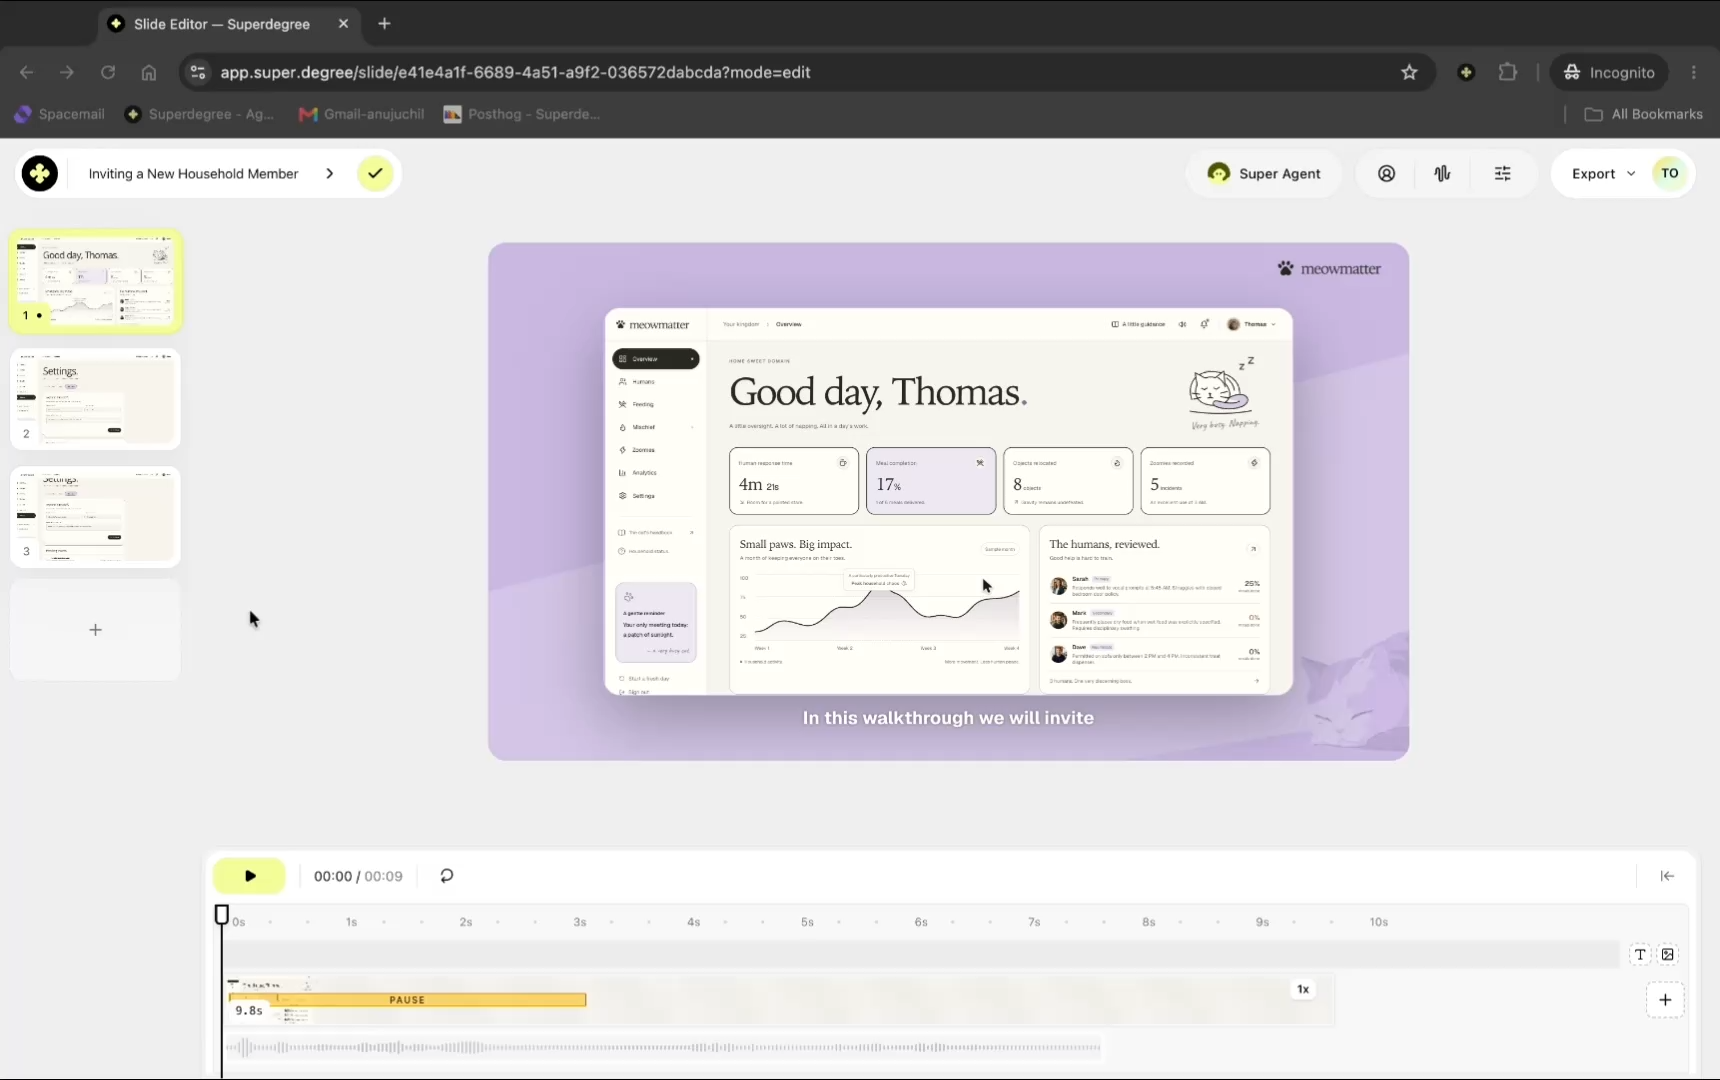
Step 2 — Select the new page strip
Click the newly added page strip (Select strip from 0.0 seconds to 5.0 seconds) on the timeline to focus on the blank slide.
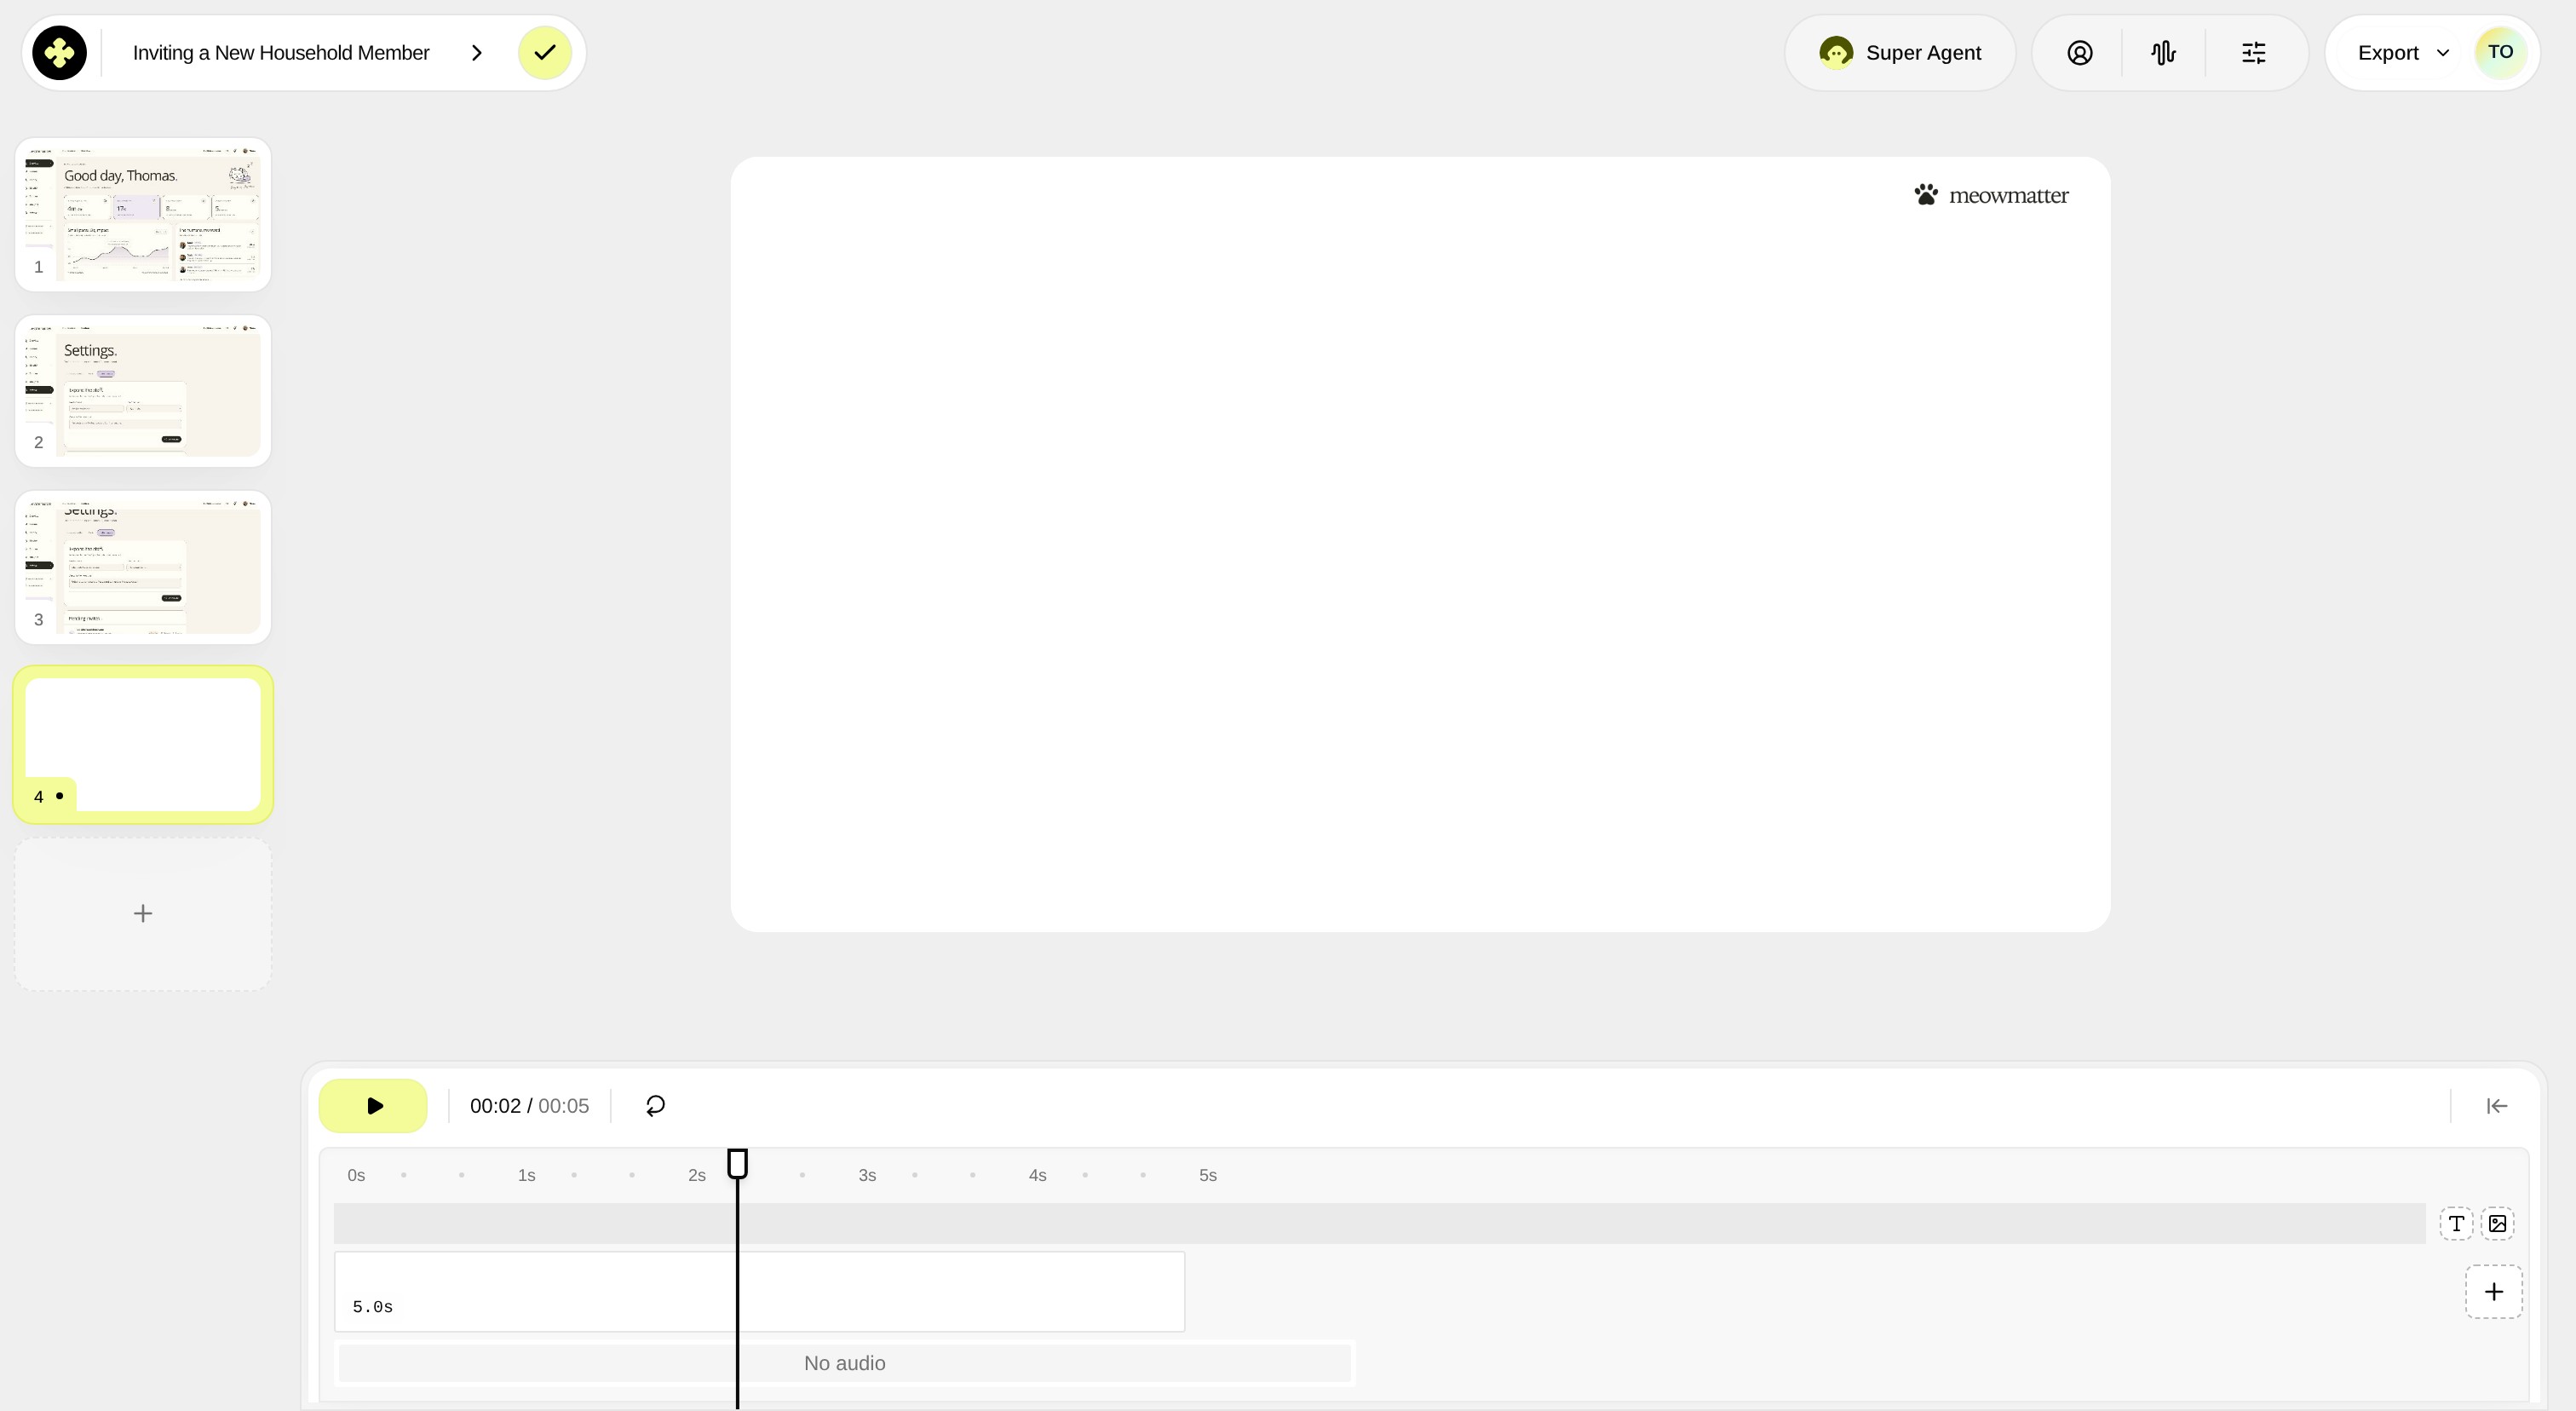
Step 3 — Open the Add menu
Click Add on the blank slide canvas or timeline to view options for inserting media into the page.
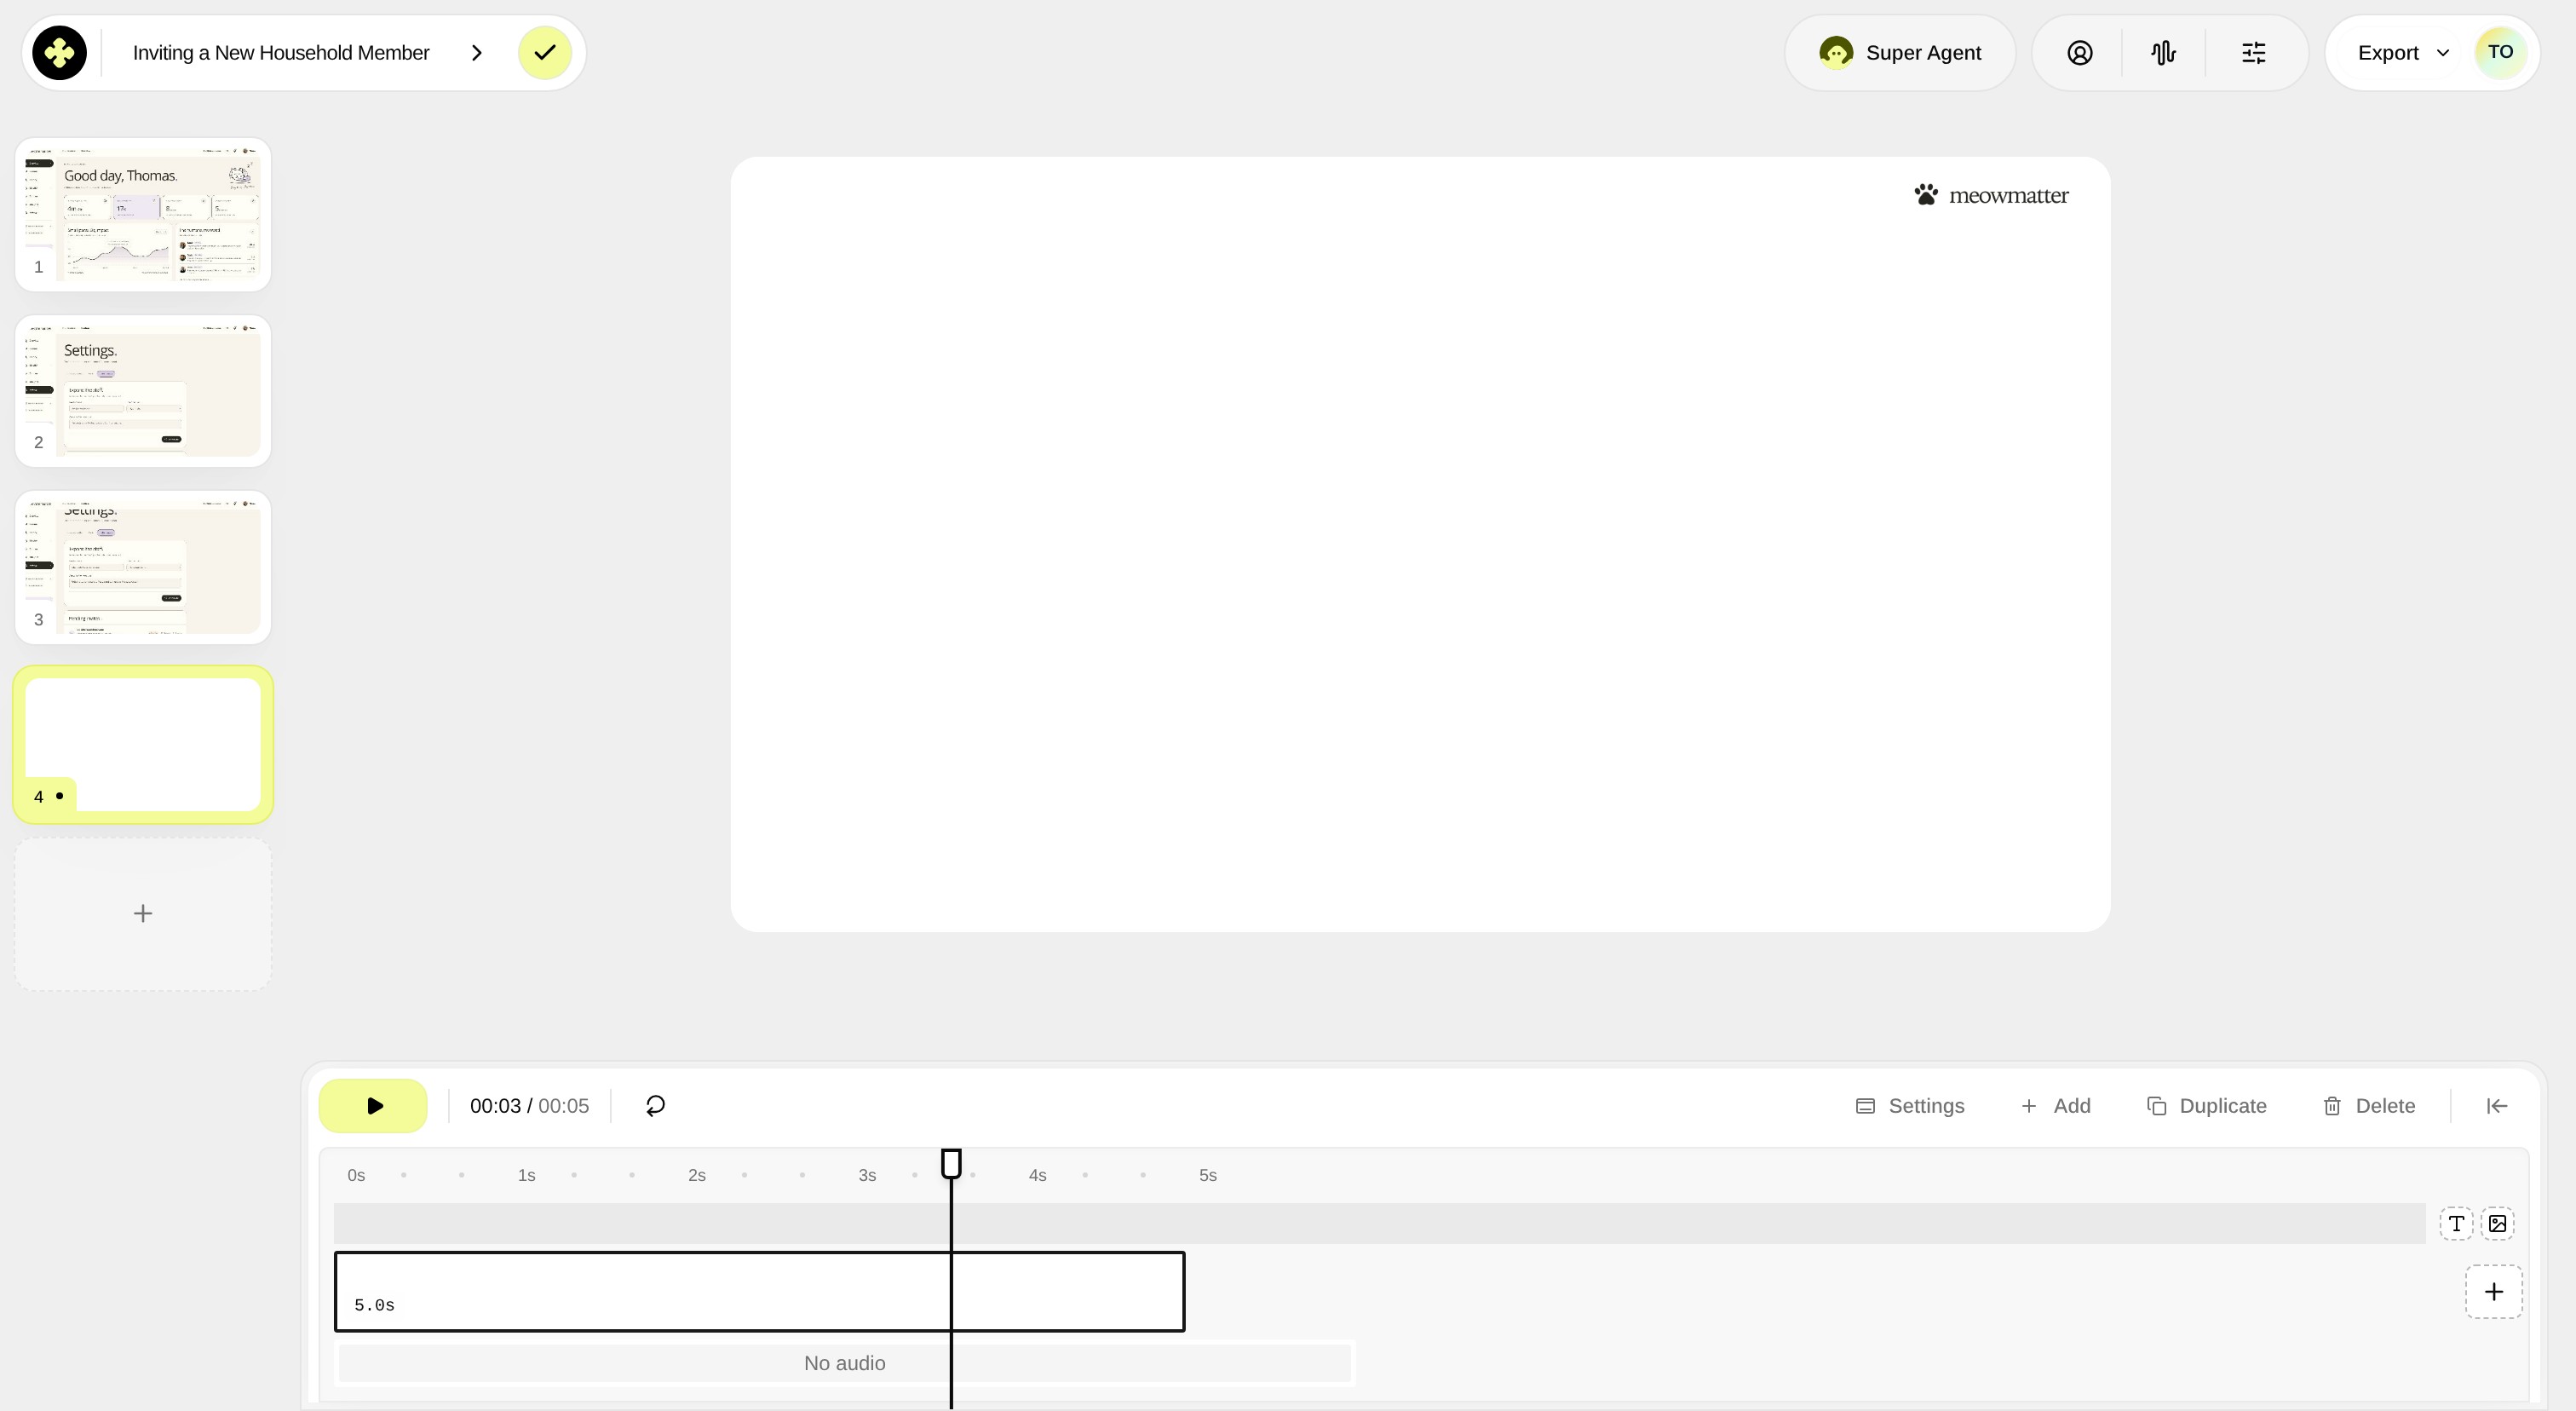
Step 4 — Open the media library
Click Add from library Open library to open the panel containing existing assets and upload options.
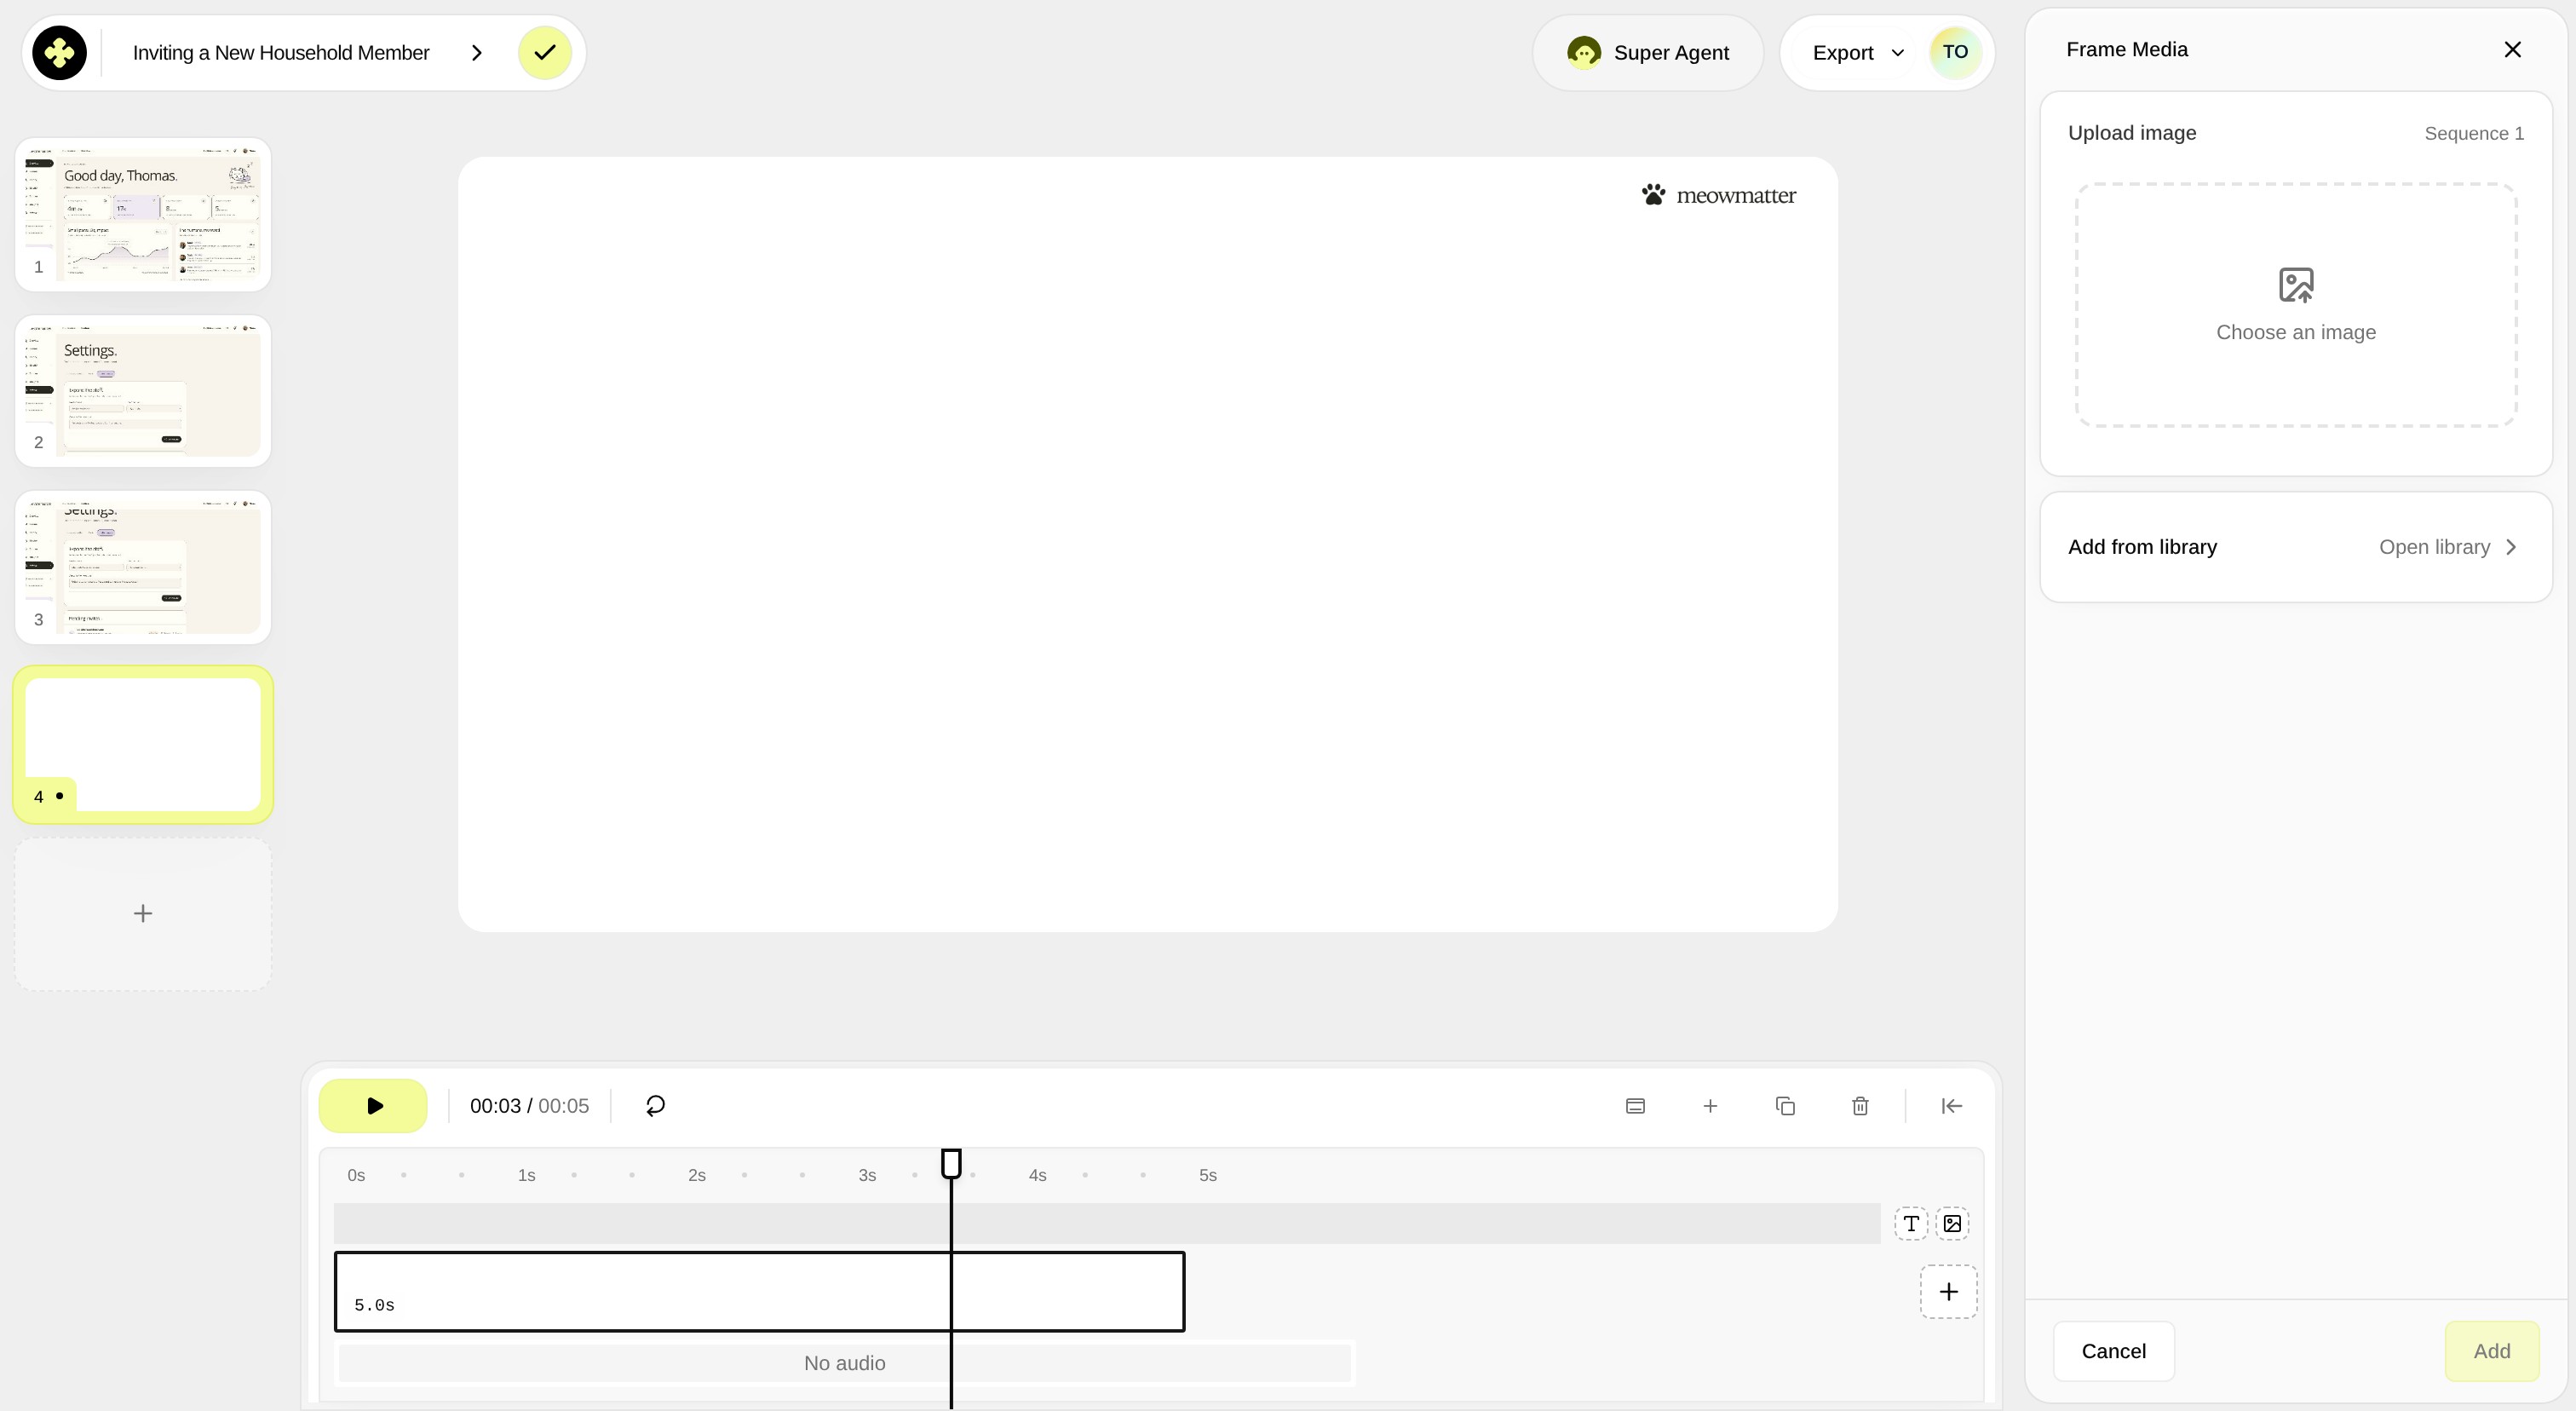
Step 5 — Browse videos
Click Videos in the media panel to filter for uploaded video content or check your video assets.
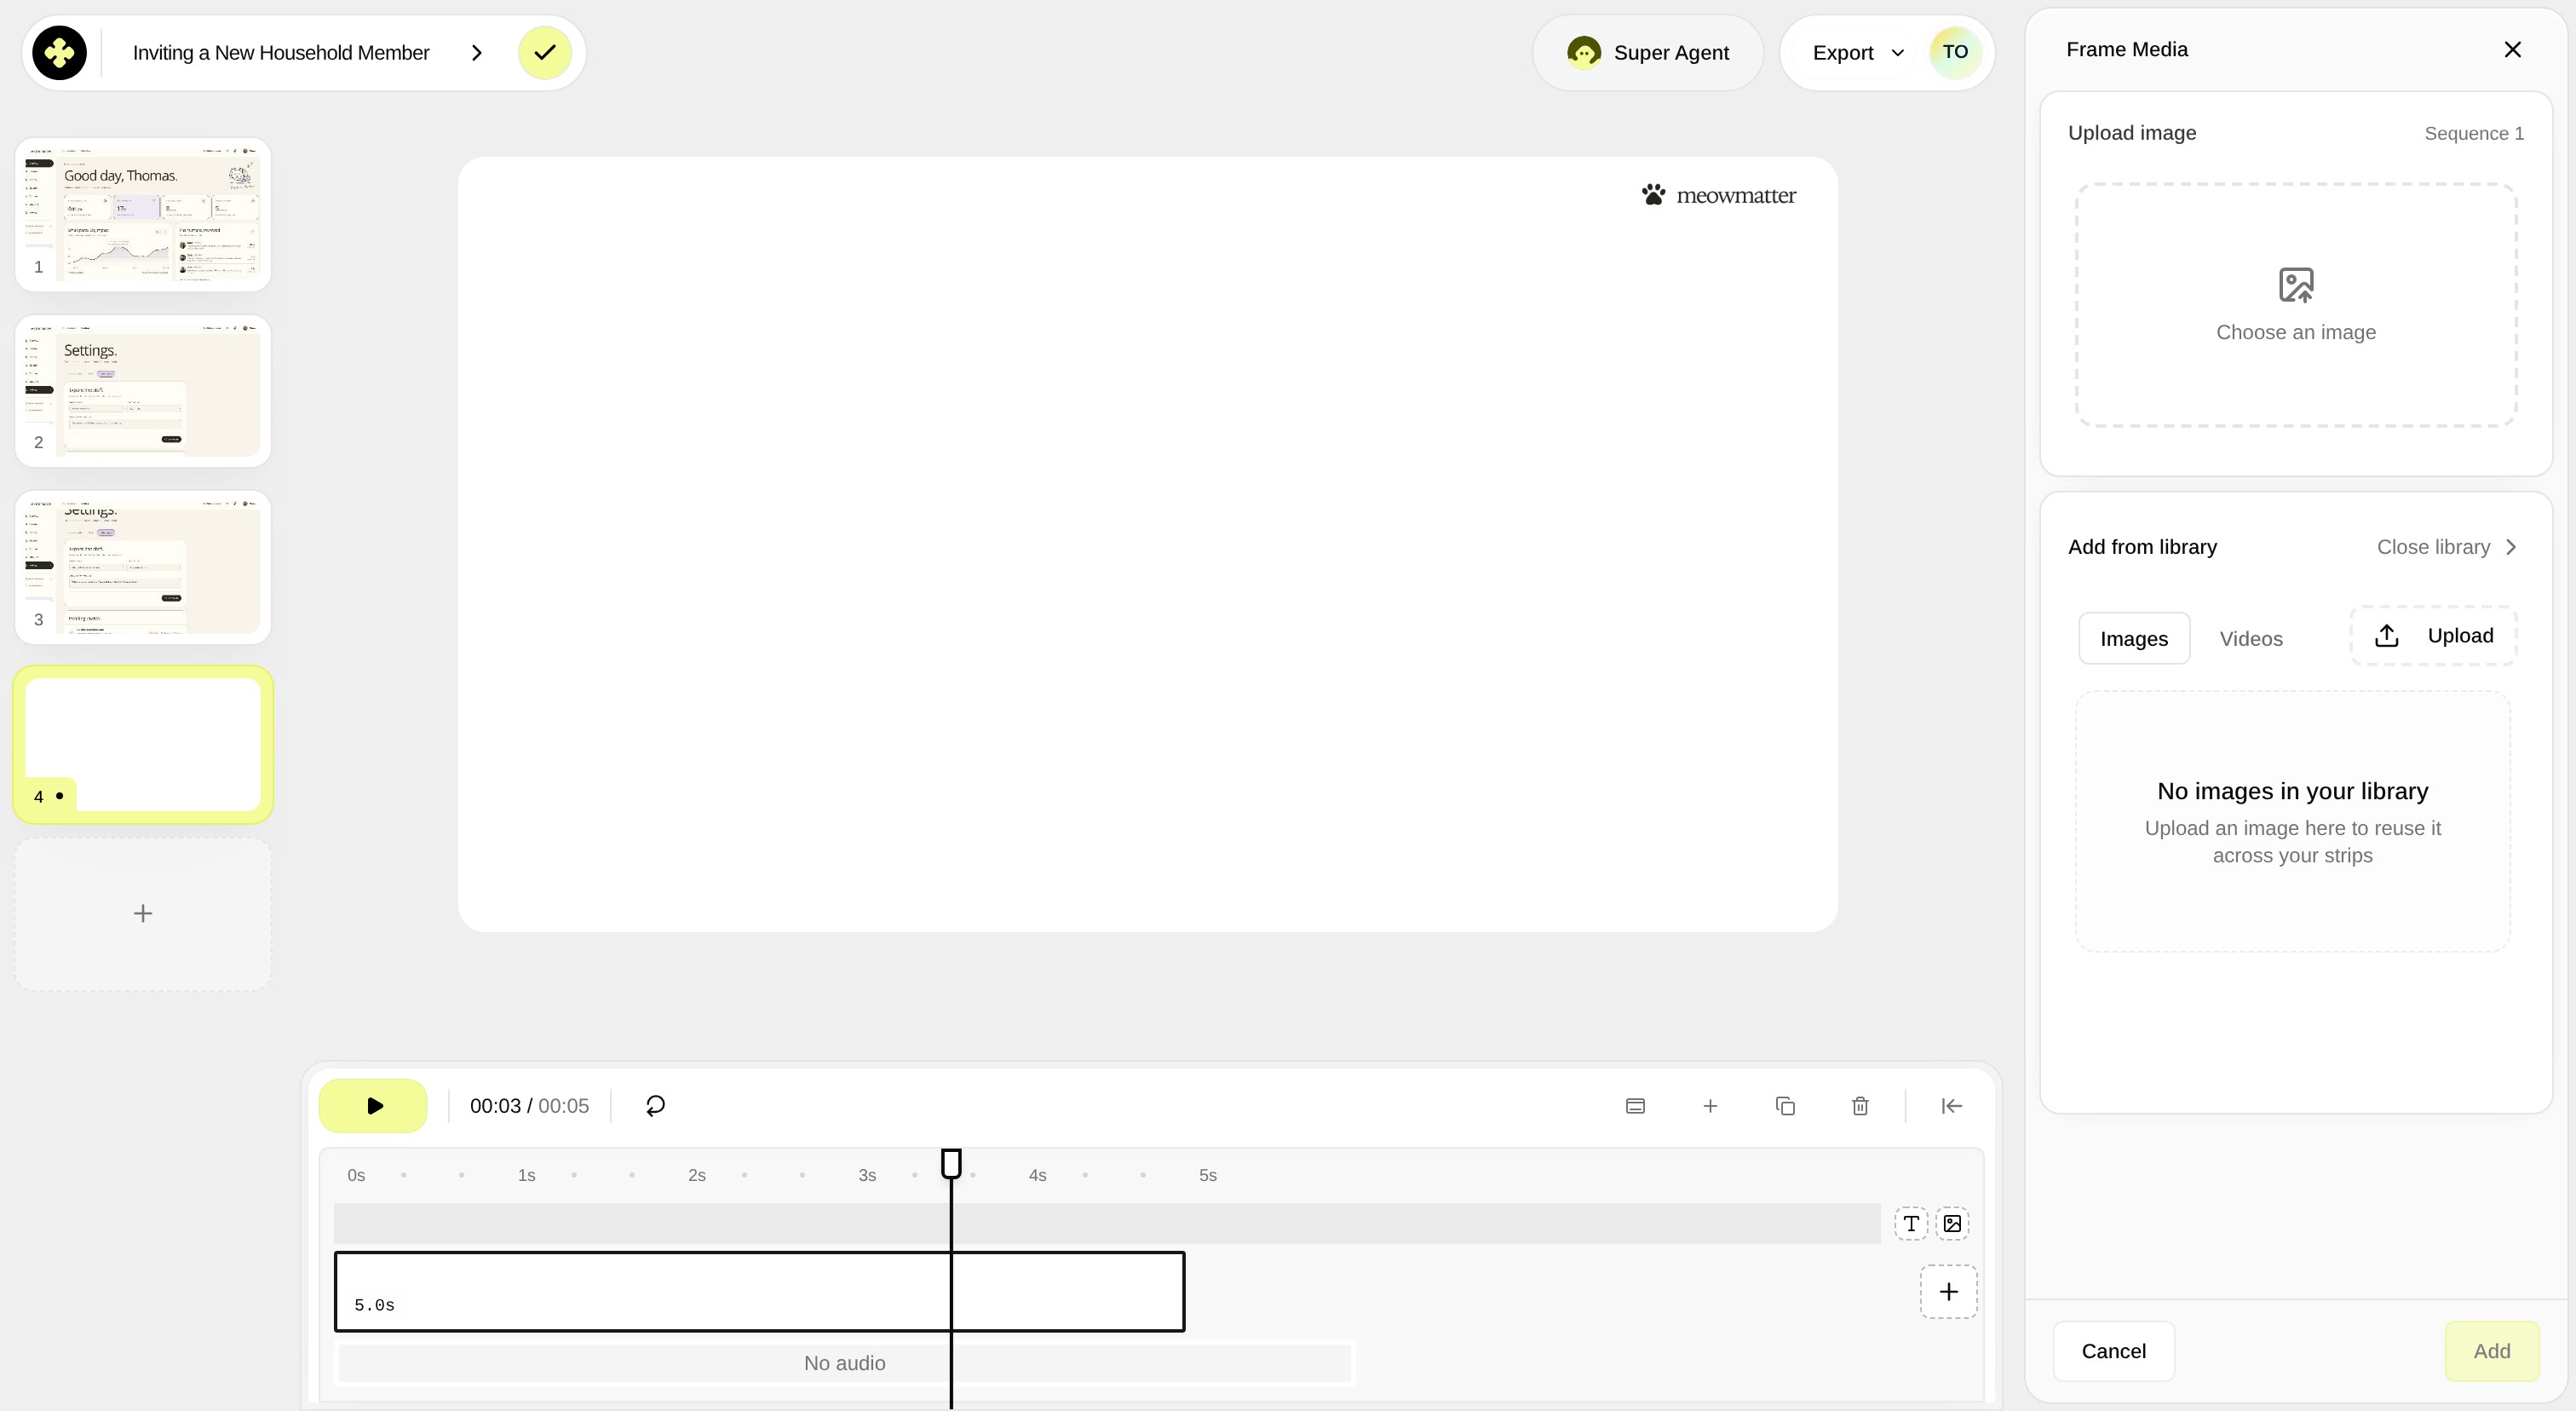
Step 6 — Close the media panel
Click Close add media panel to return to the slide canvas. Alternatively, files can be dragged and dropped directly onto the blank slide from your desktop.
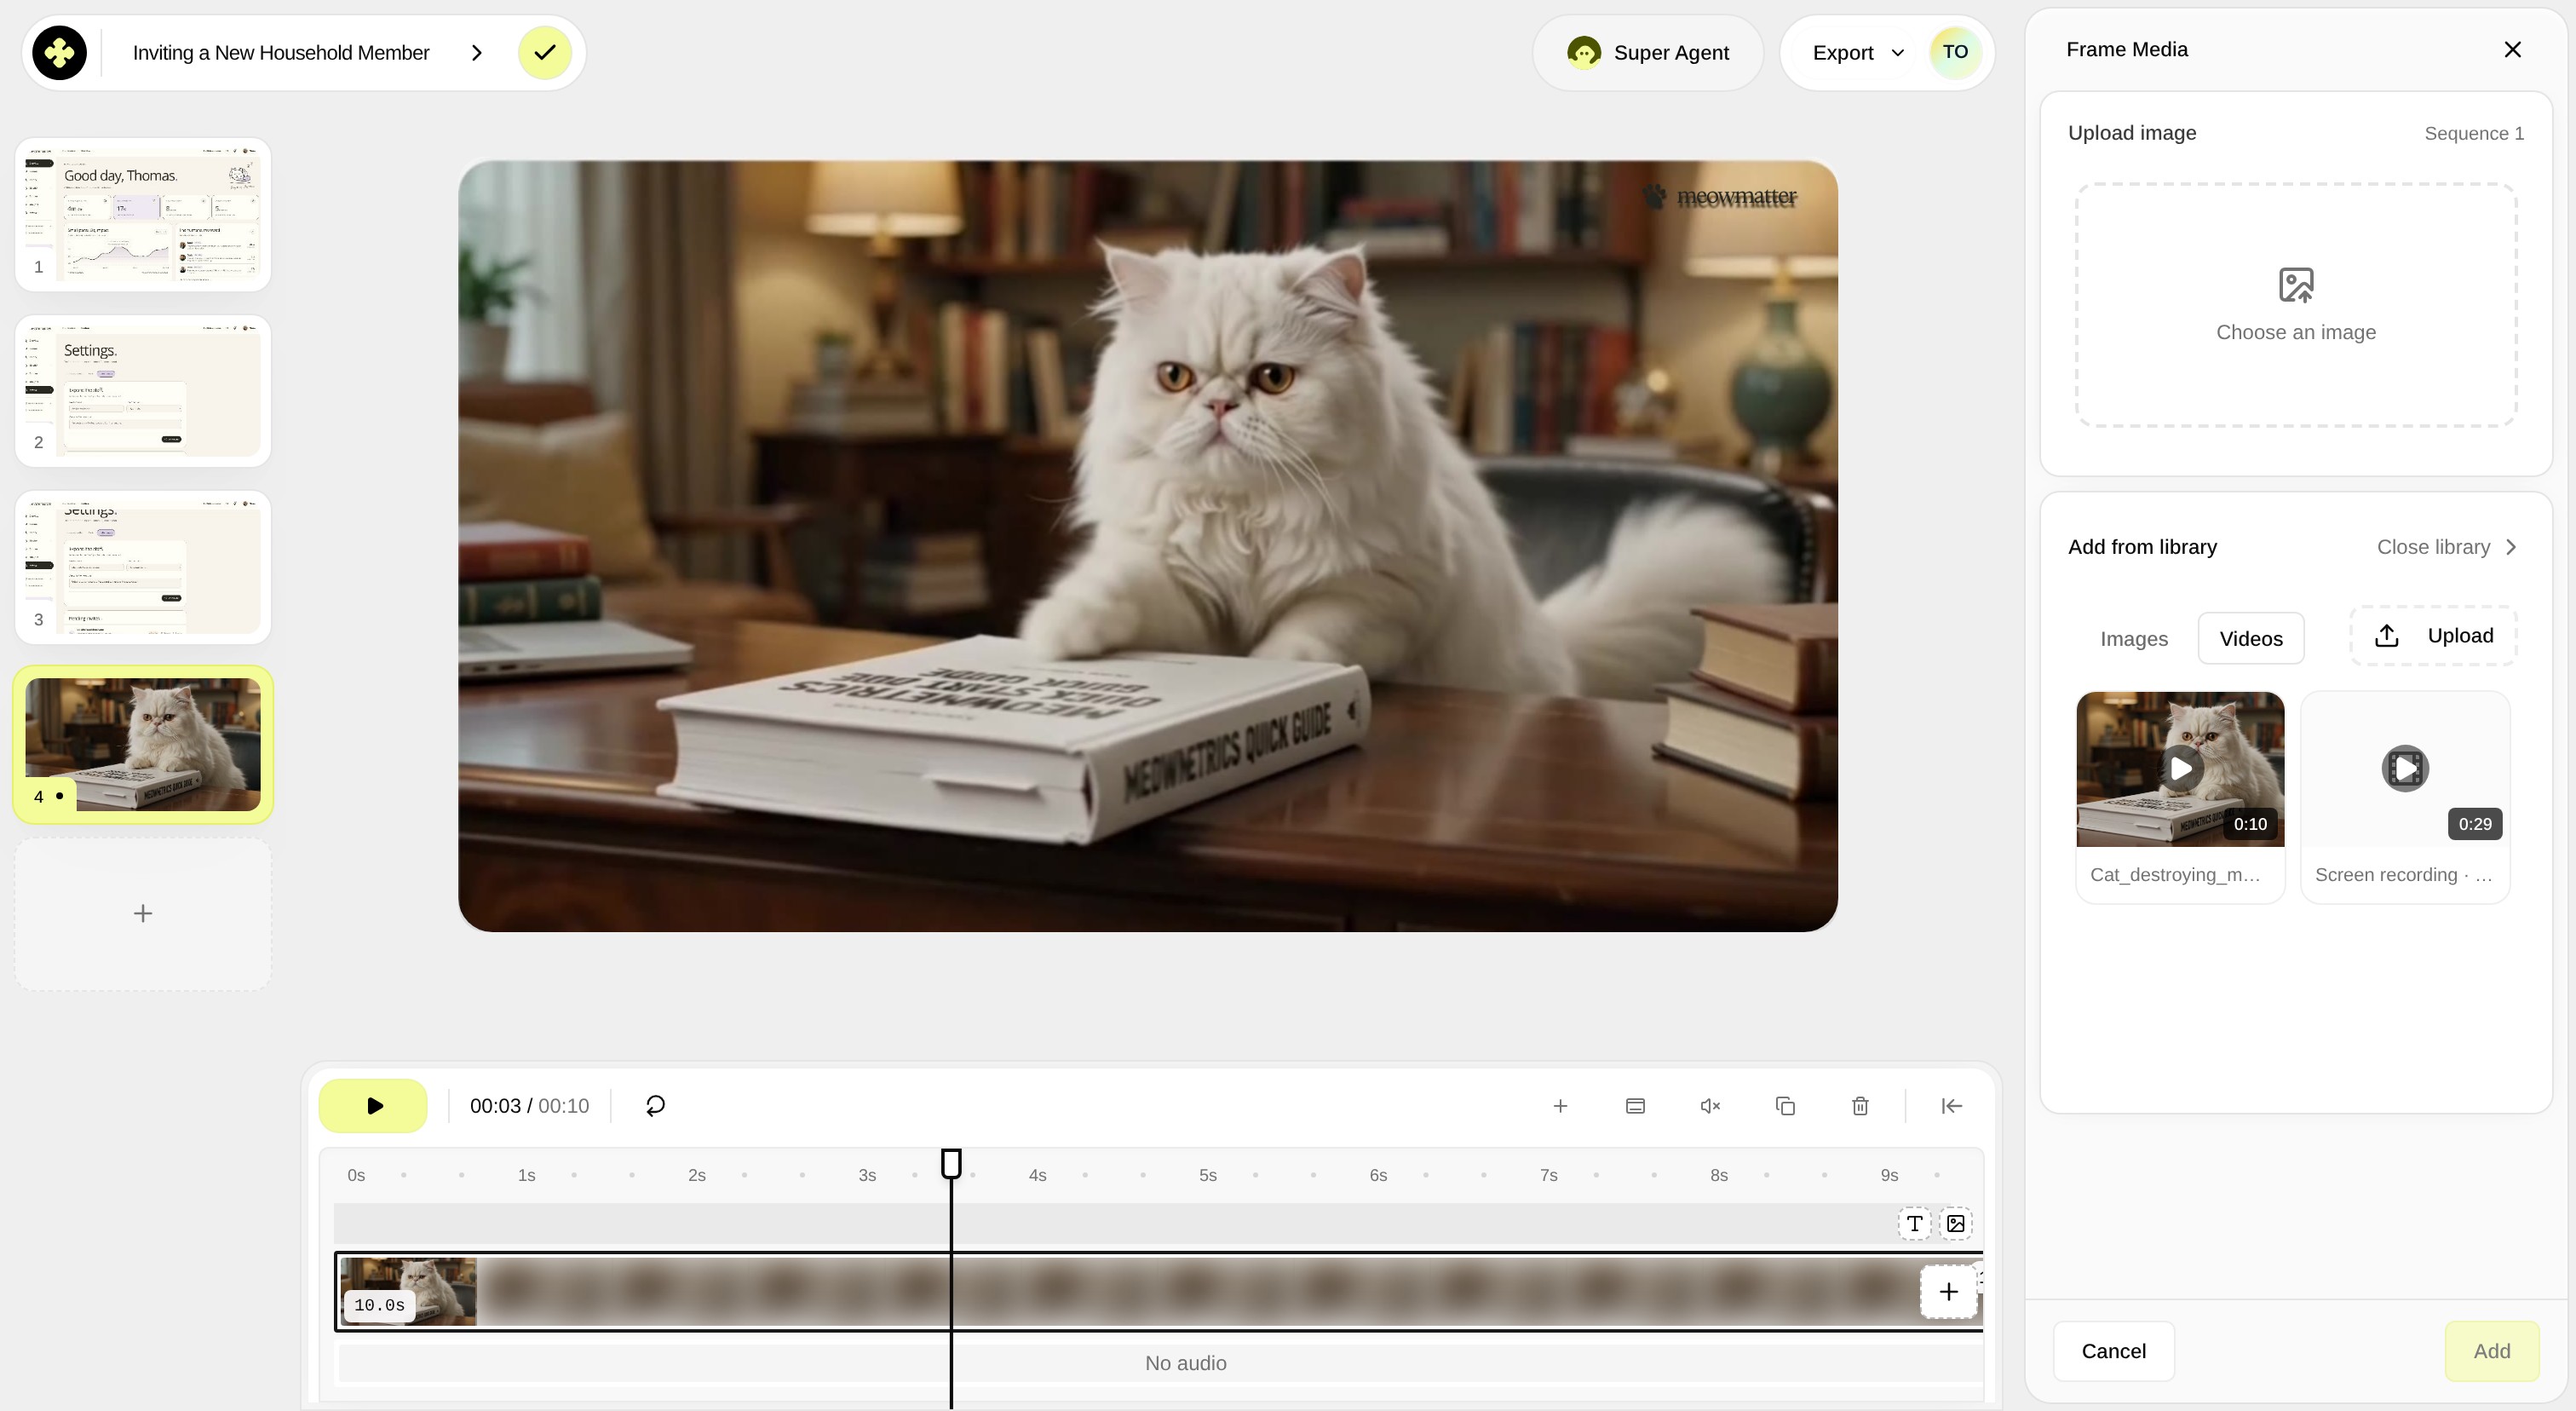
Step 7 — Position the playhead on the timeline
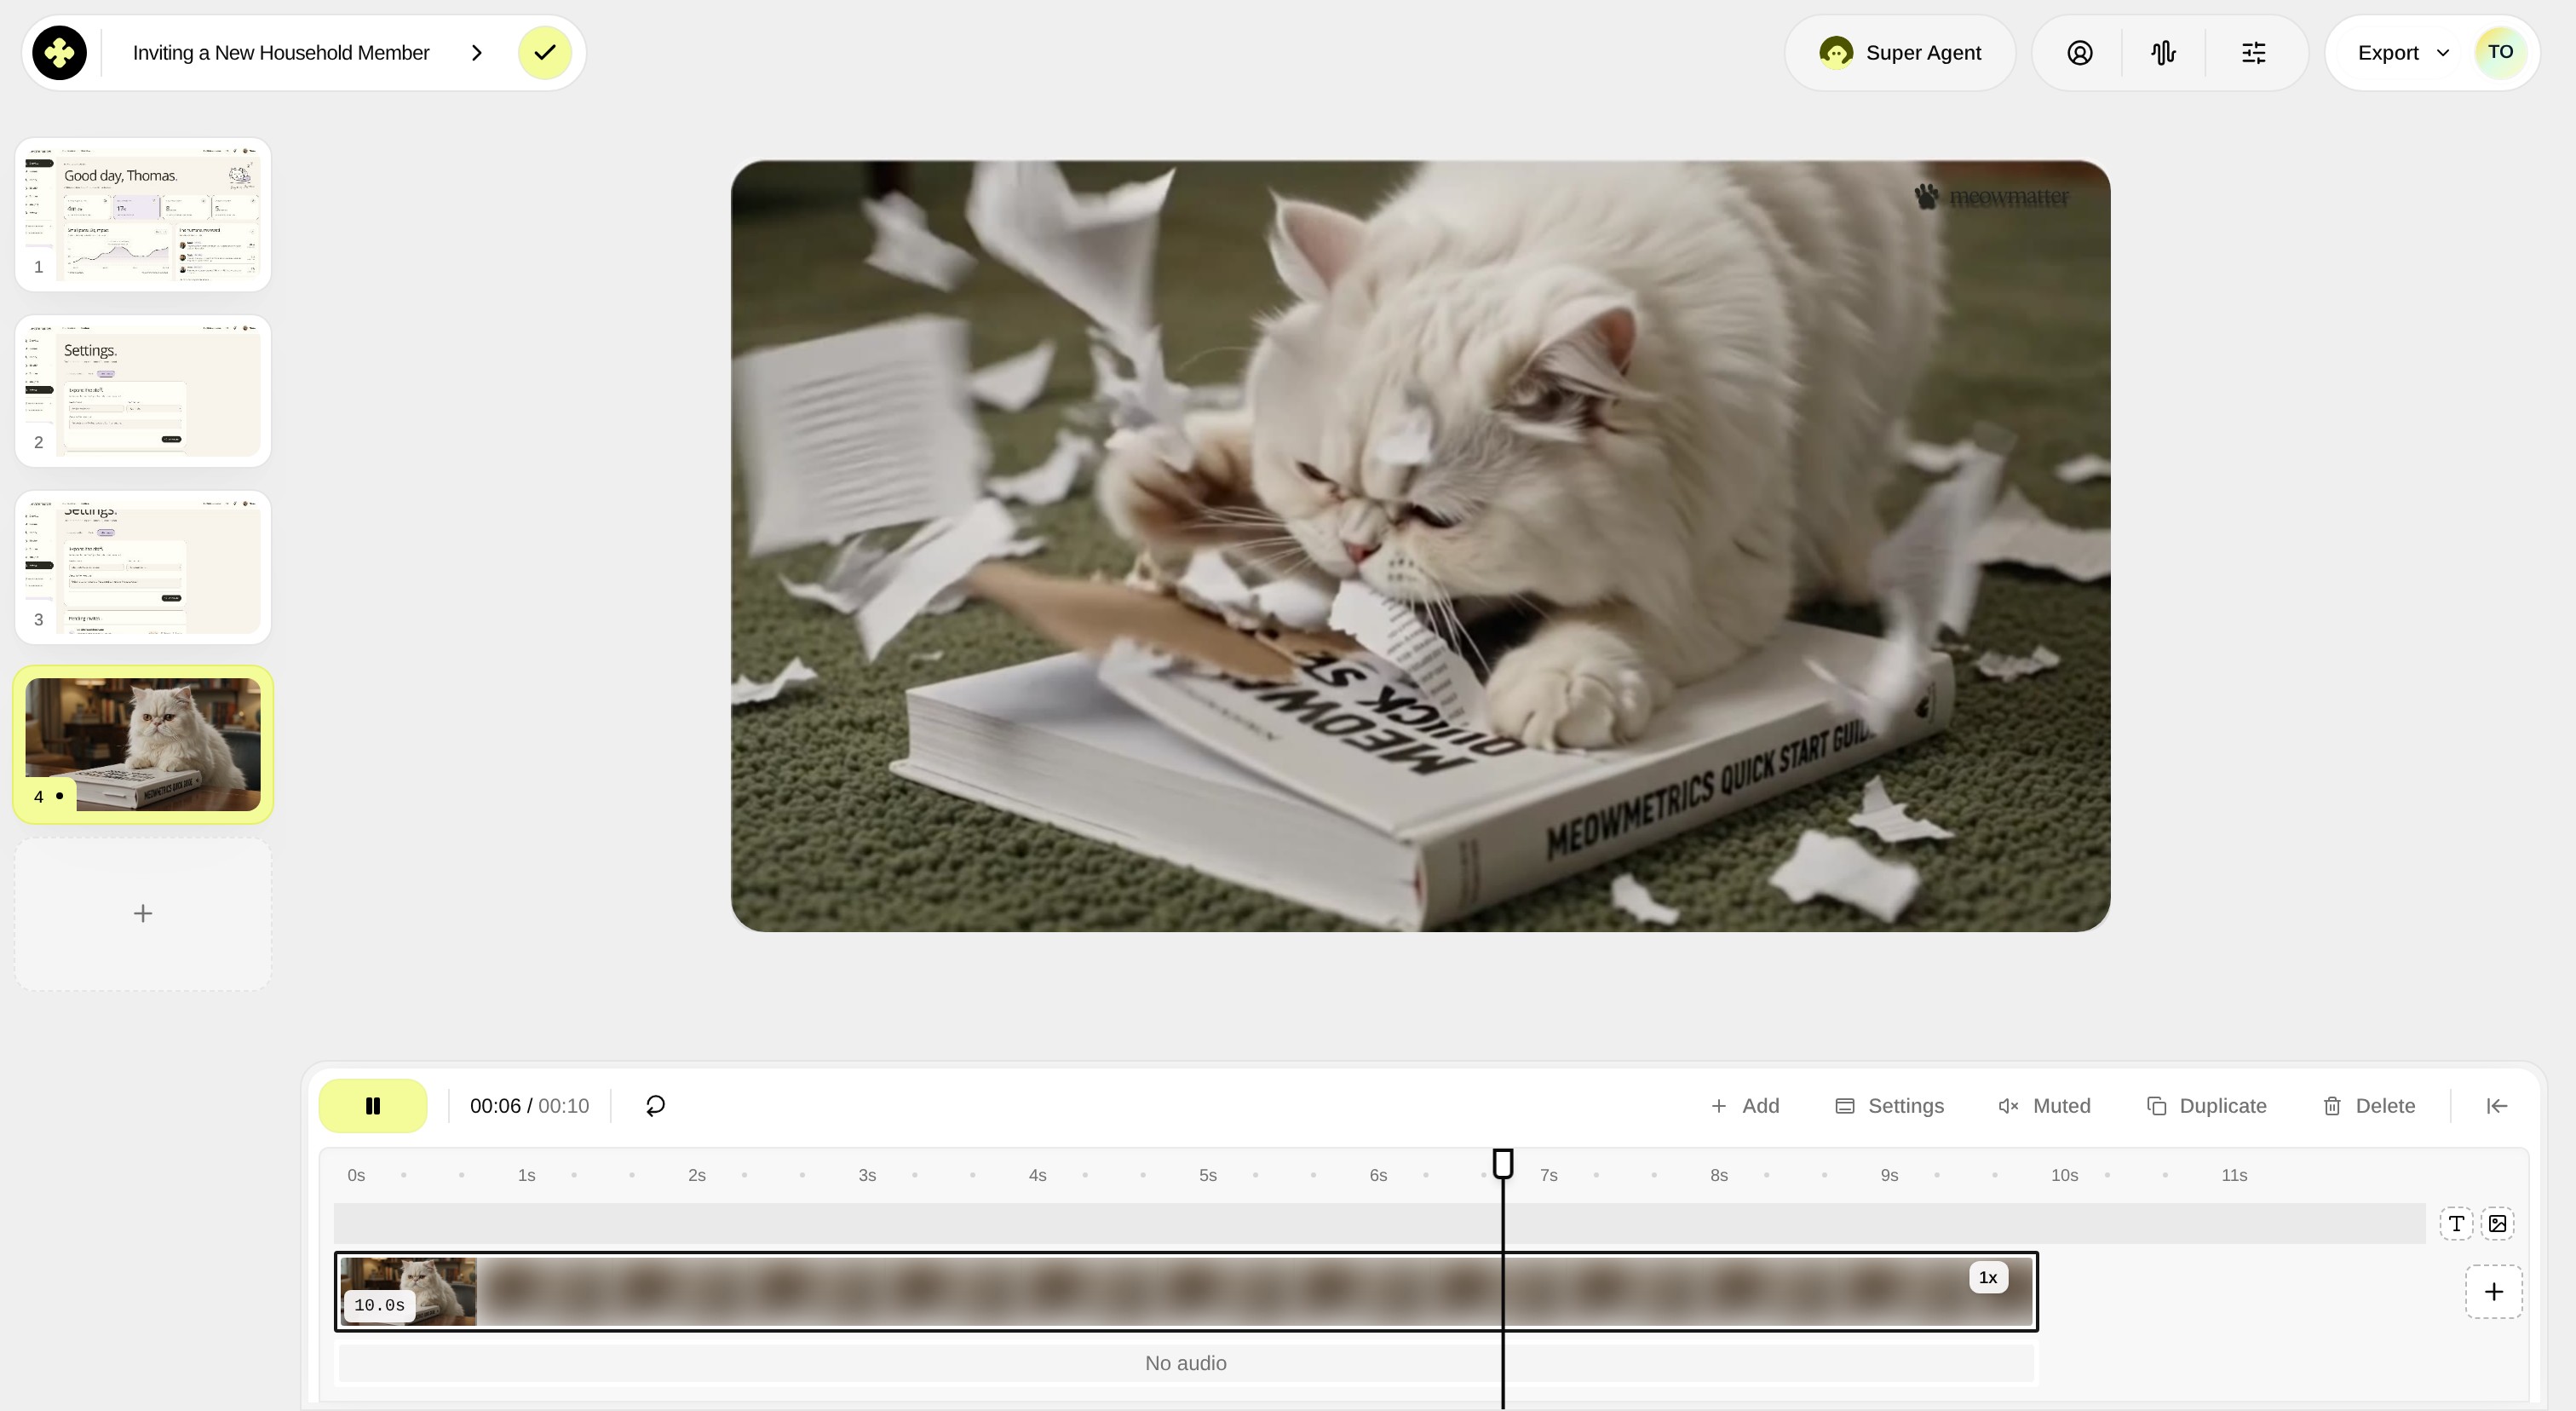
Click on the timeline ruler (0s 1s 2s 3s 4s 5s 6s 7s 8s 9s 10s 11s) to scrub and position the playhead over the uploaded video segment.
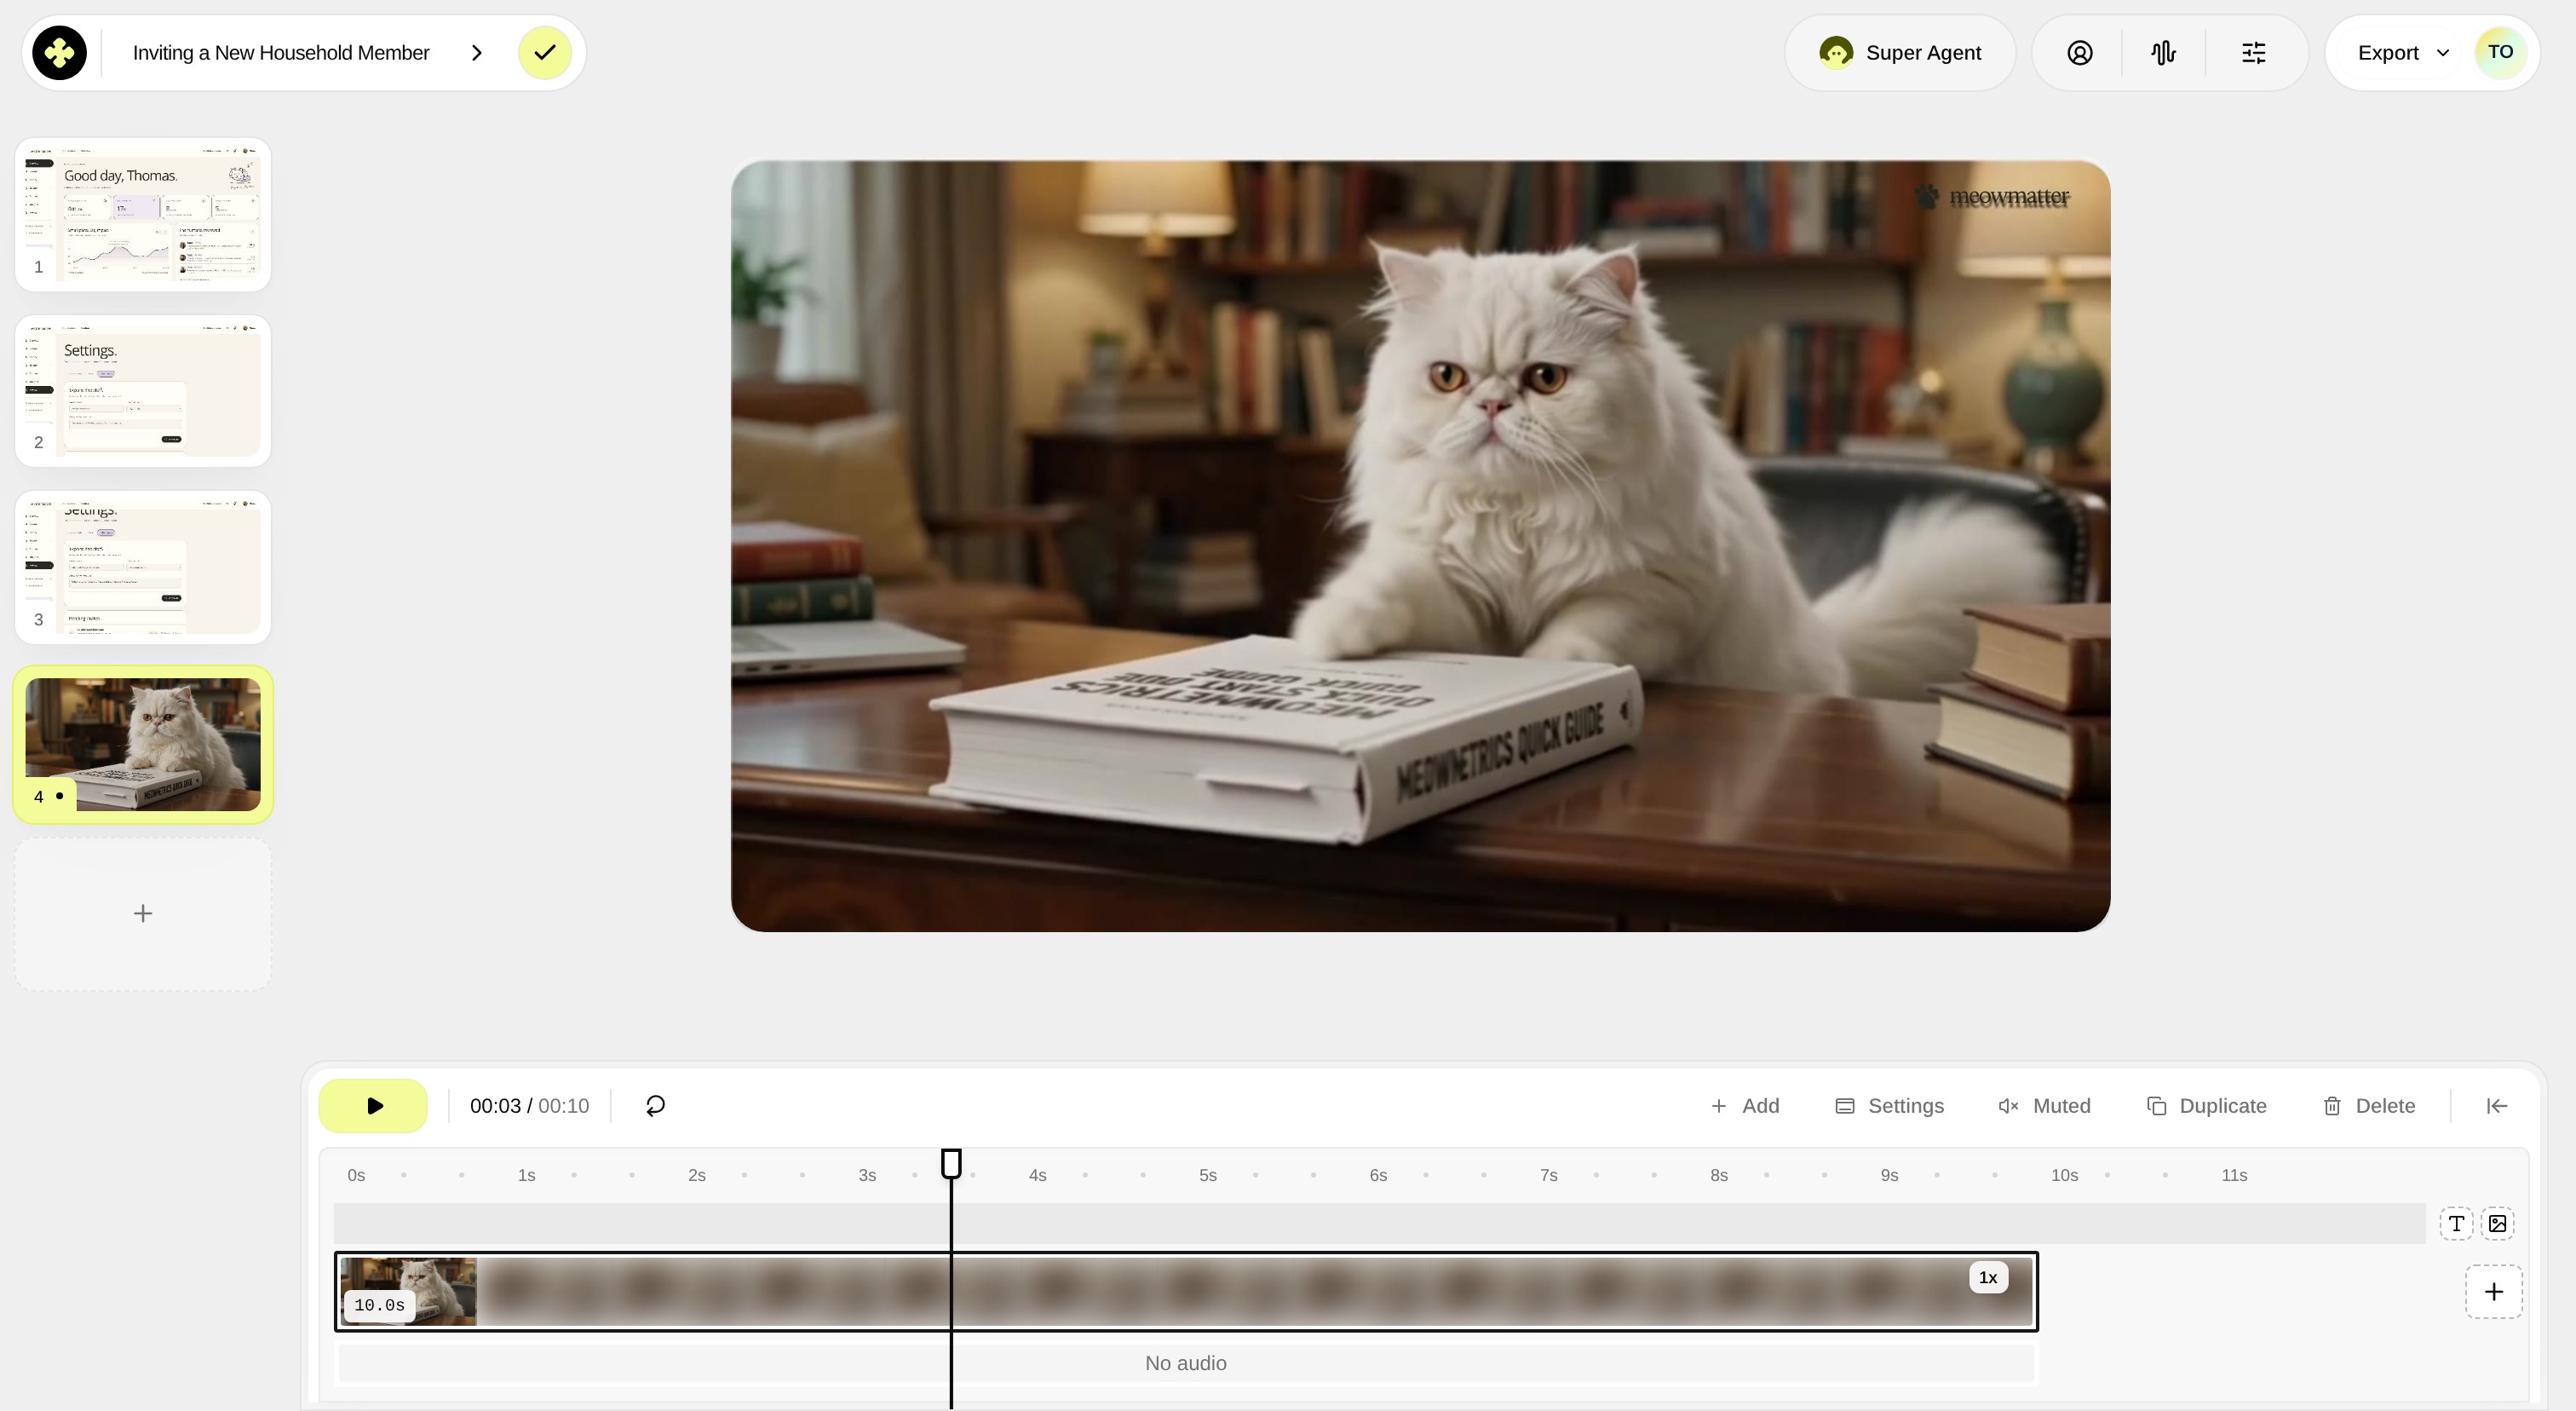
Step 8 — Play the video preview
Click Play on the playback controls below the canvas to preview the video sequence.
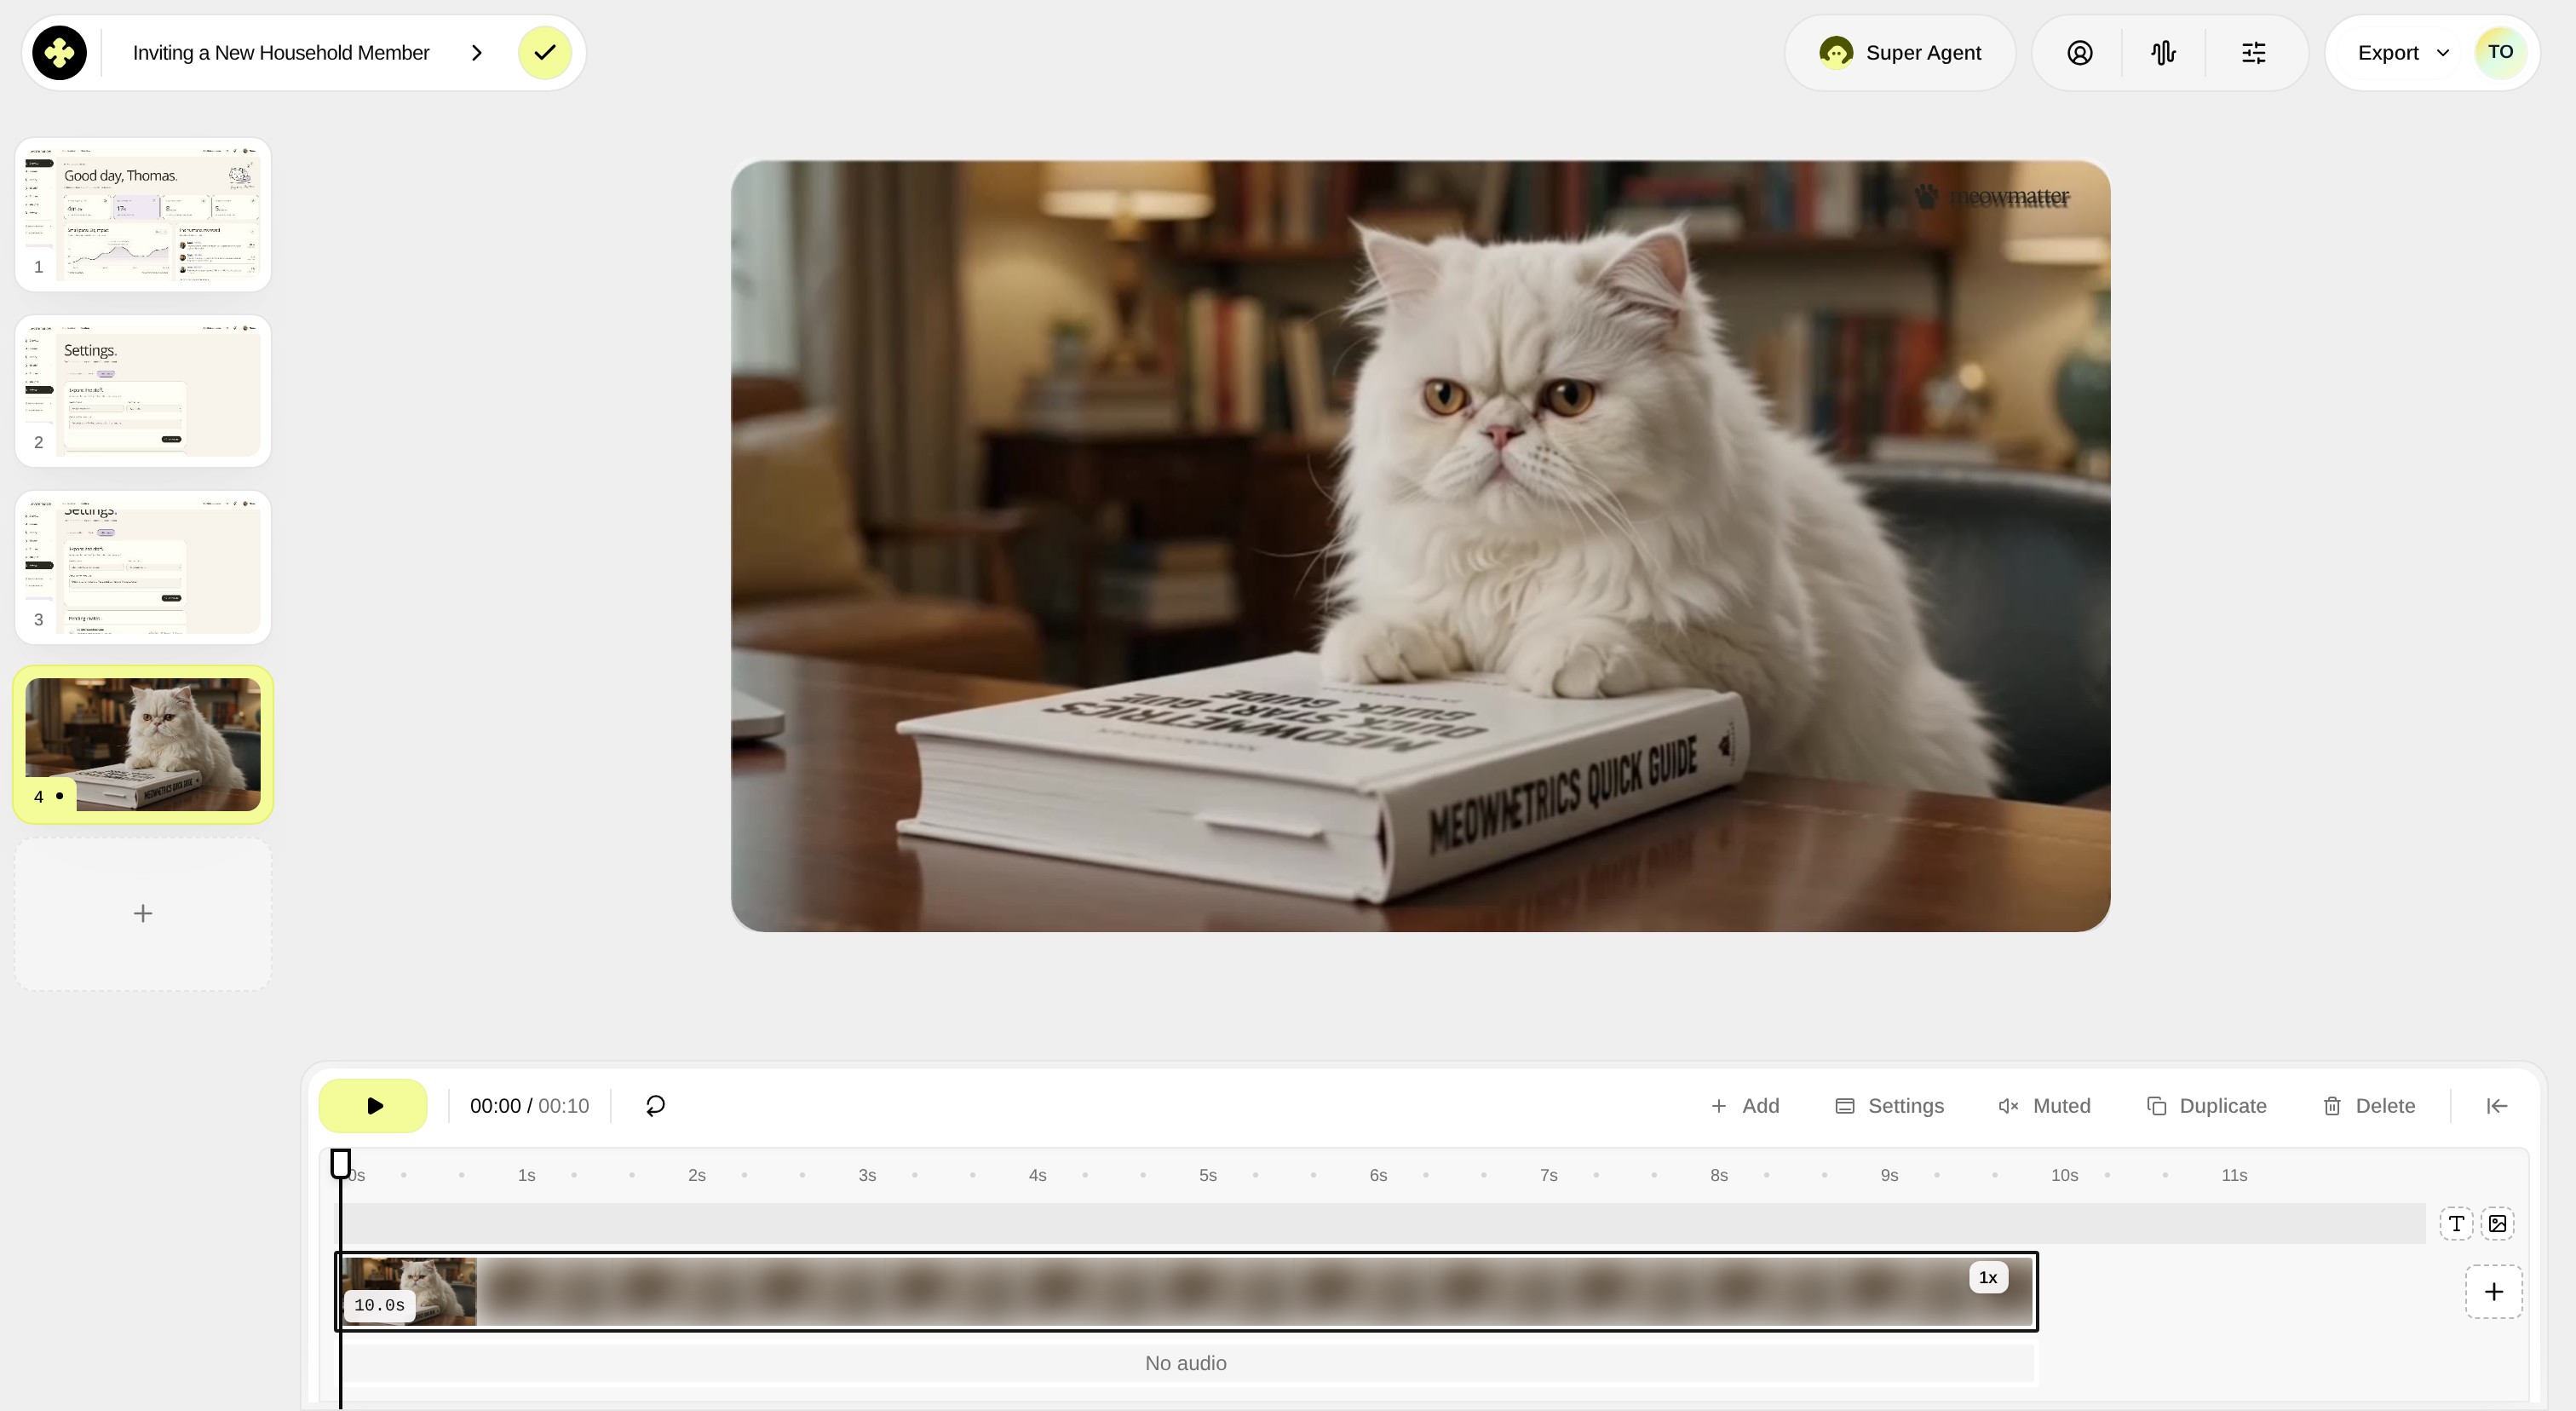
Step 9 — Pause the preview
Click Pause to halt playback after verifying the video content.
Result
The new page contains the uploaded video asset, displayed on the slide canvas and reflected in the timeline strip. The video is paused at the current playhead position, ready for further editing or presentation.
Notes
• Media dragged and dropped onto the page is automatically saved to your Library, making it available for reuse across other slides and projects.