
Chrome Extension · Article 1 of 18
How to Install and Record with Chrome extension
This guide walks you through installing the Superdegree Recorder Chrome extension, configuring browser permissions, and capturing editable product walkthroughs.
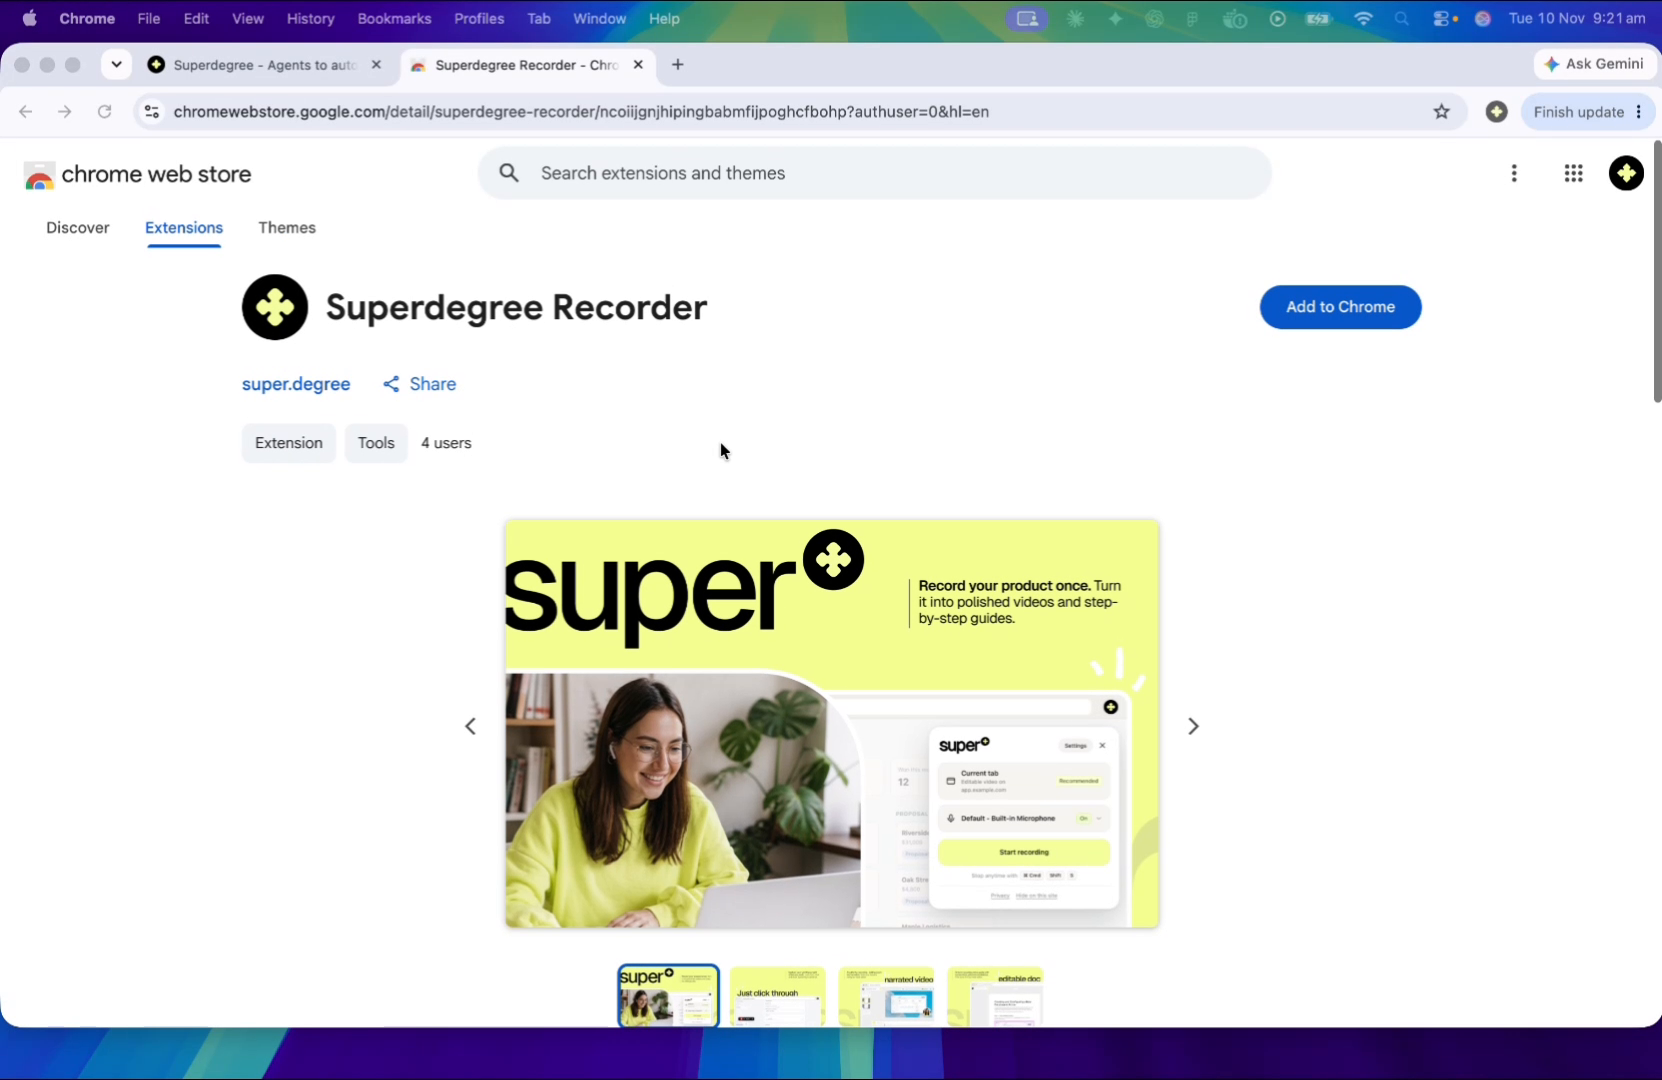
1. Add Extension from Chrome Web Store
Navigate to the Superdegree Recorder page in the Chrome Web Store and click the Add to Chrome button.
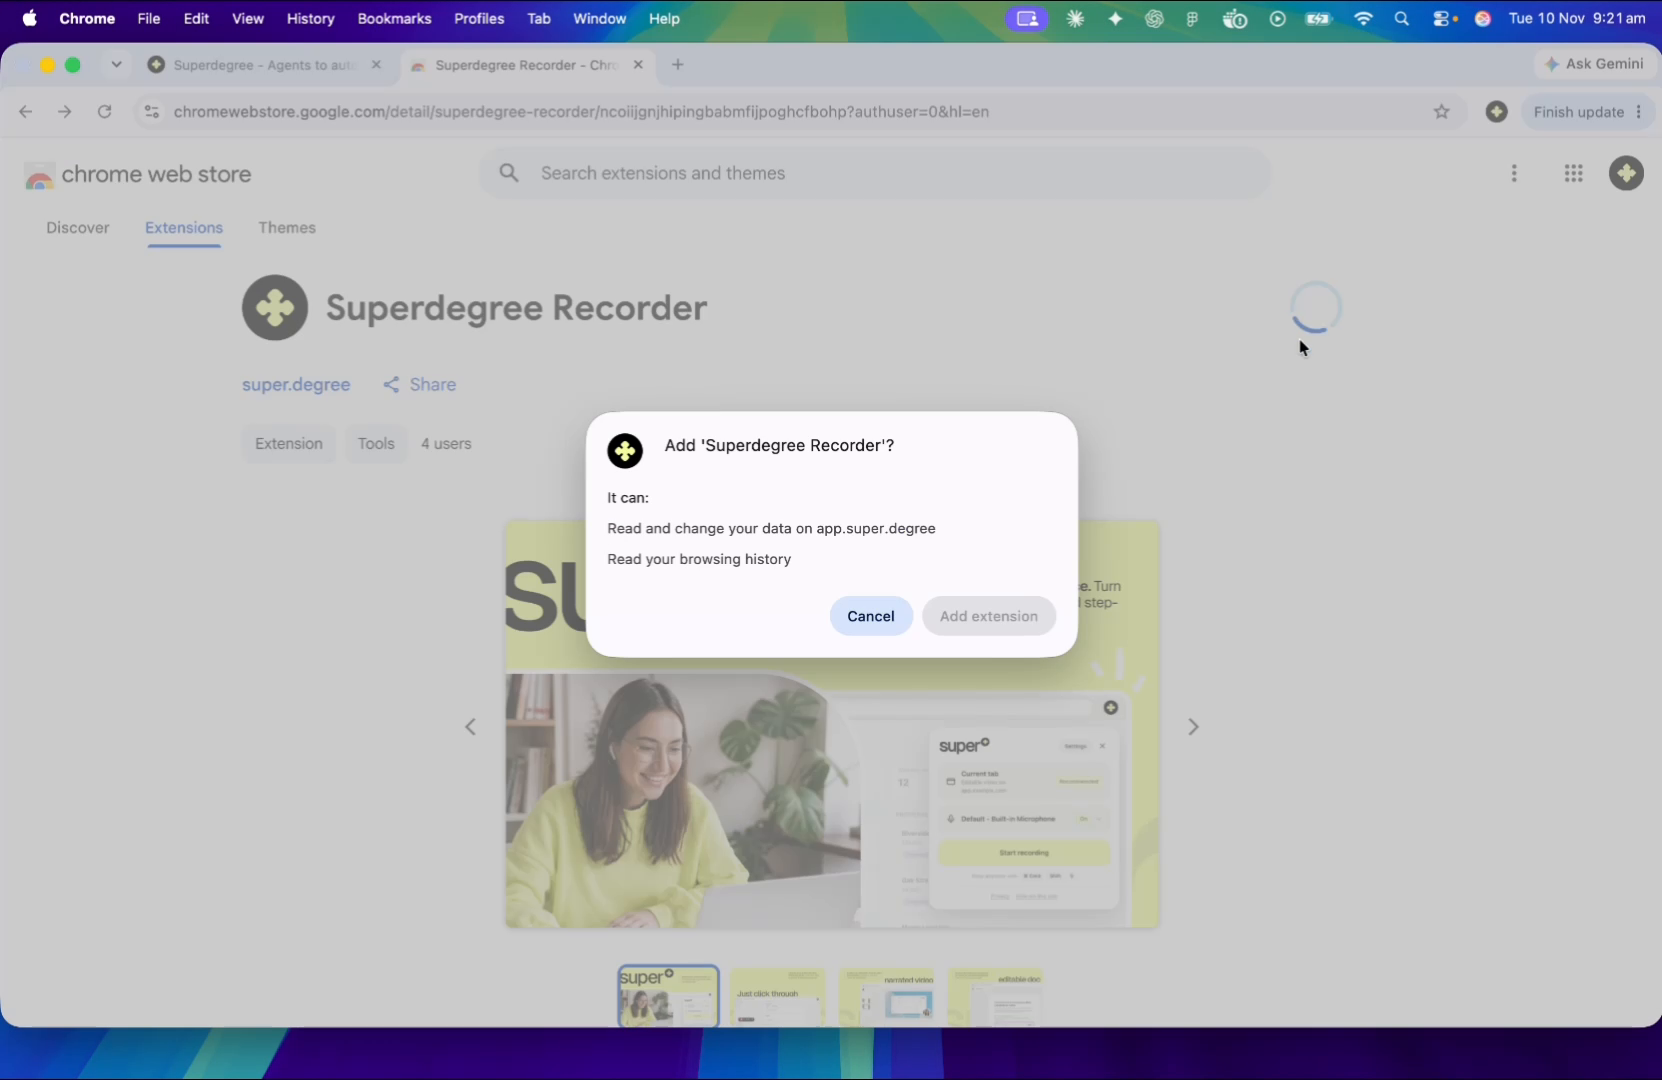
2. Confirm Extension Installation
Review the required browser permissions in the confirmation prompt, then click Add extension to proceed with installation.
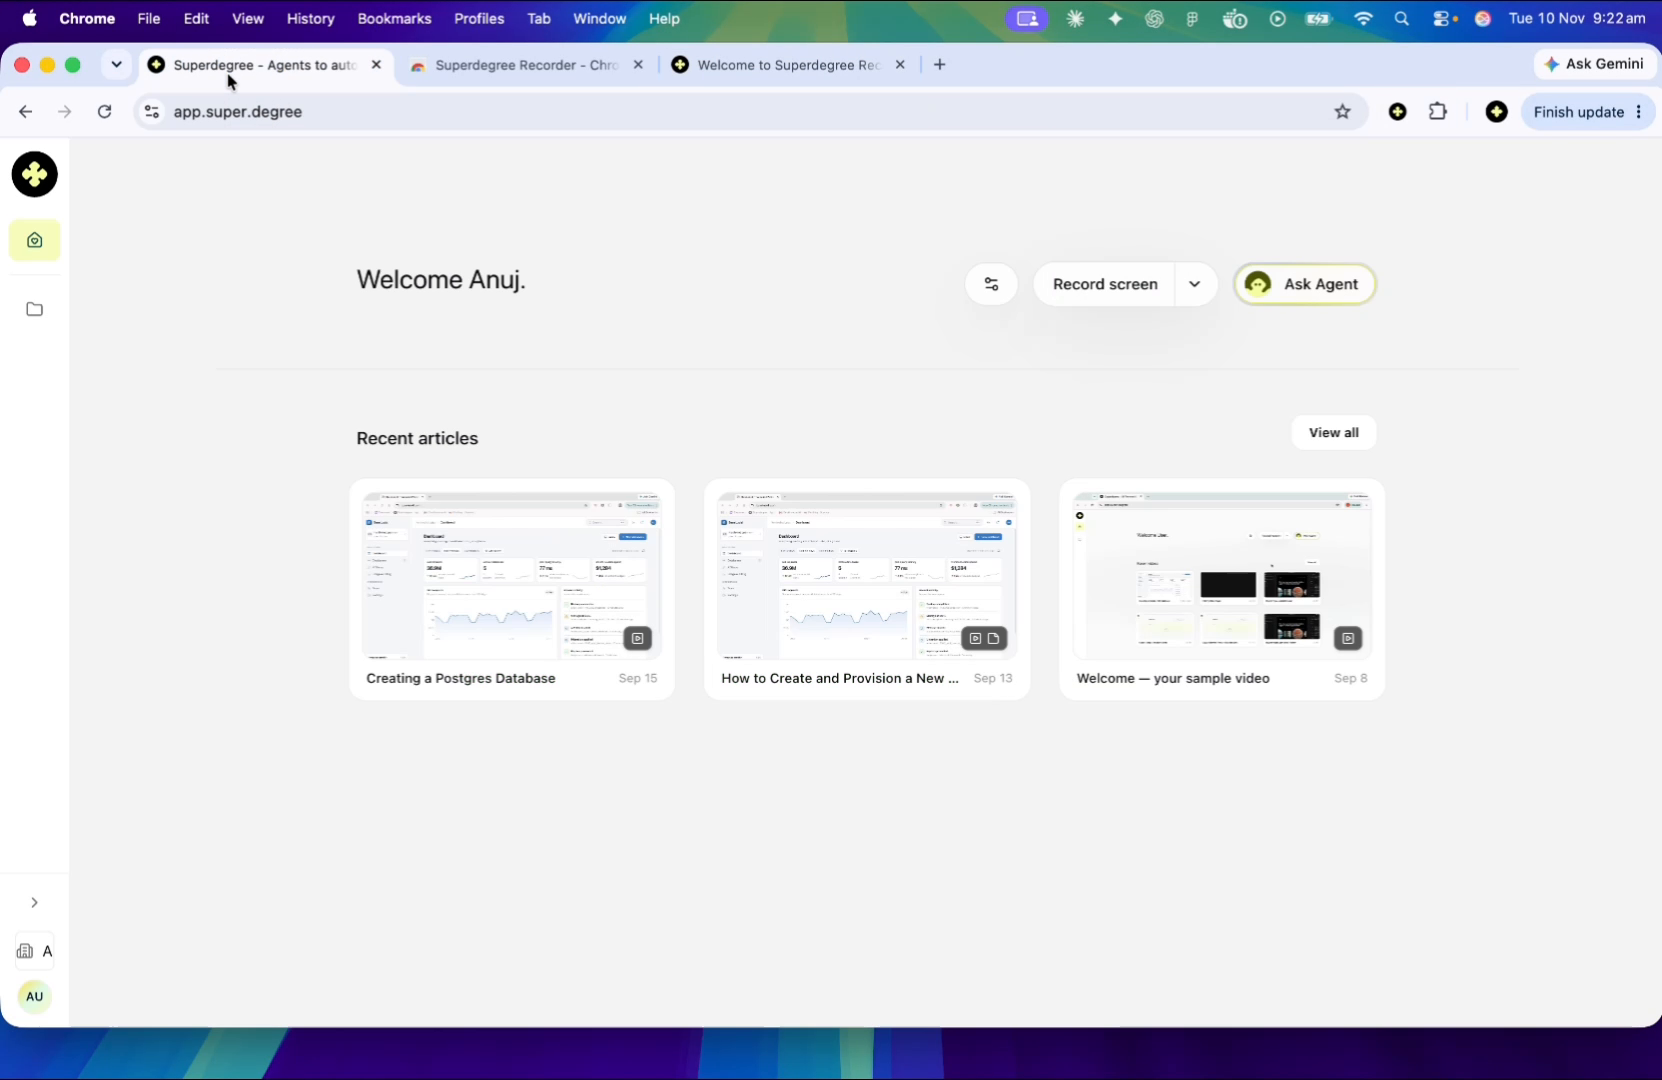
3. Verify Your Superdegree Account
Once installed, the welcome tab opens. Verify that you are signed into your Superdegree account. If you are not signed in, follow the on-screen prompt to log in.
4. Accept Terms of Service
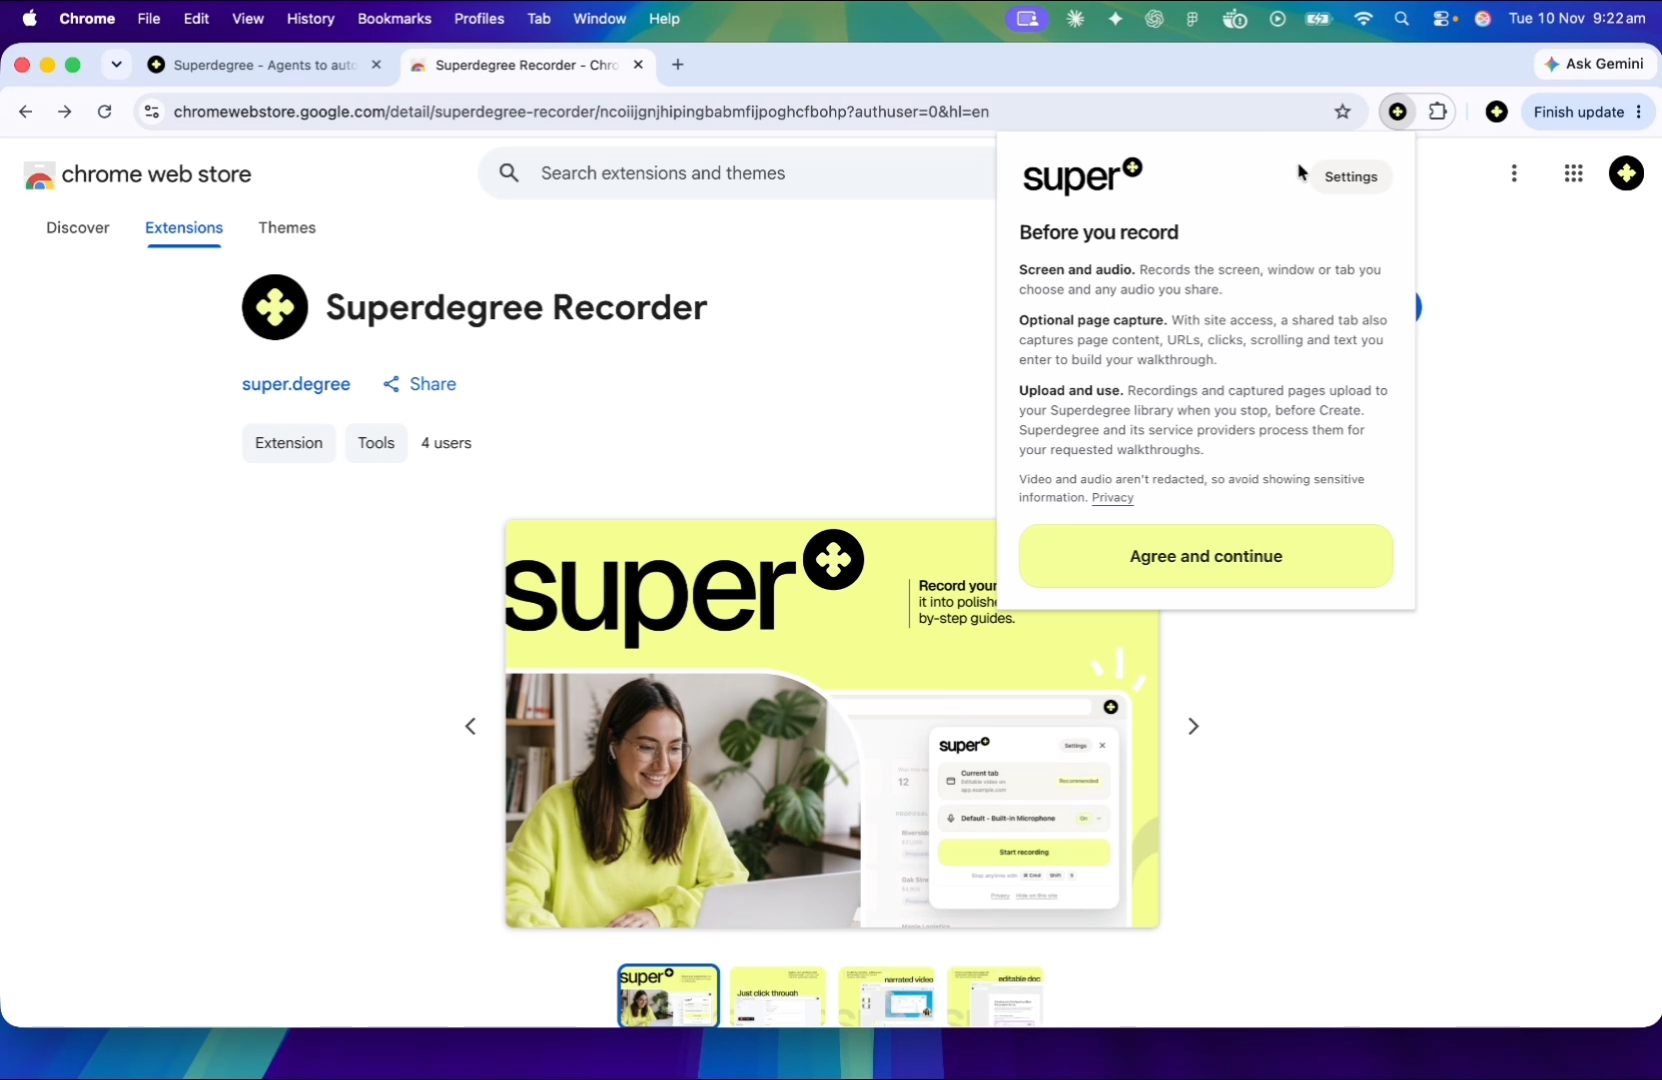
Click the Superdegree extension icon in your Chrome toolbar. Review the screen and audio capture terms, then click Agree and continue.
5. Enable Microphone Permissions
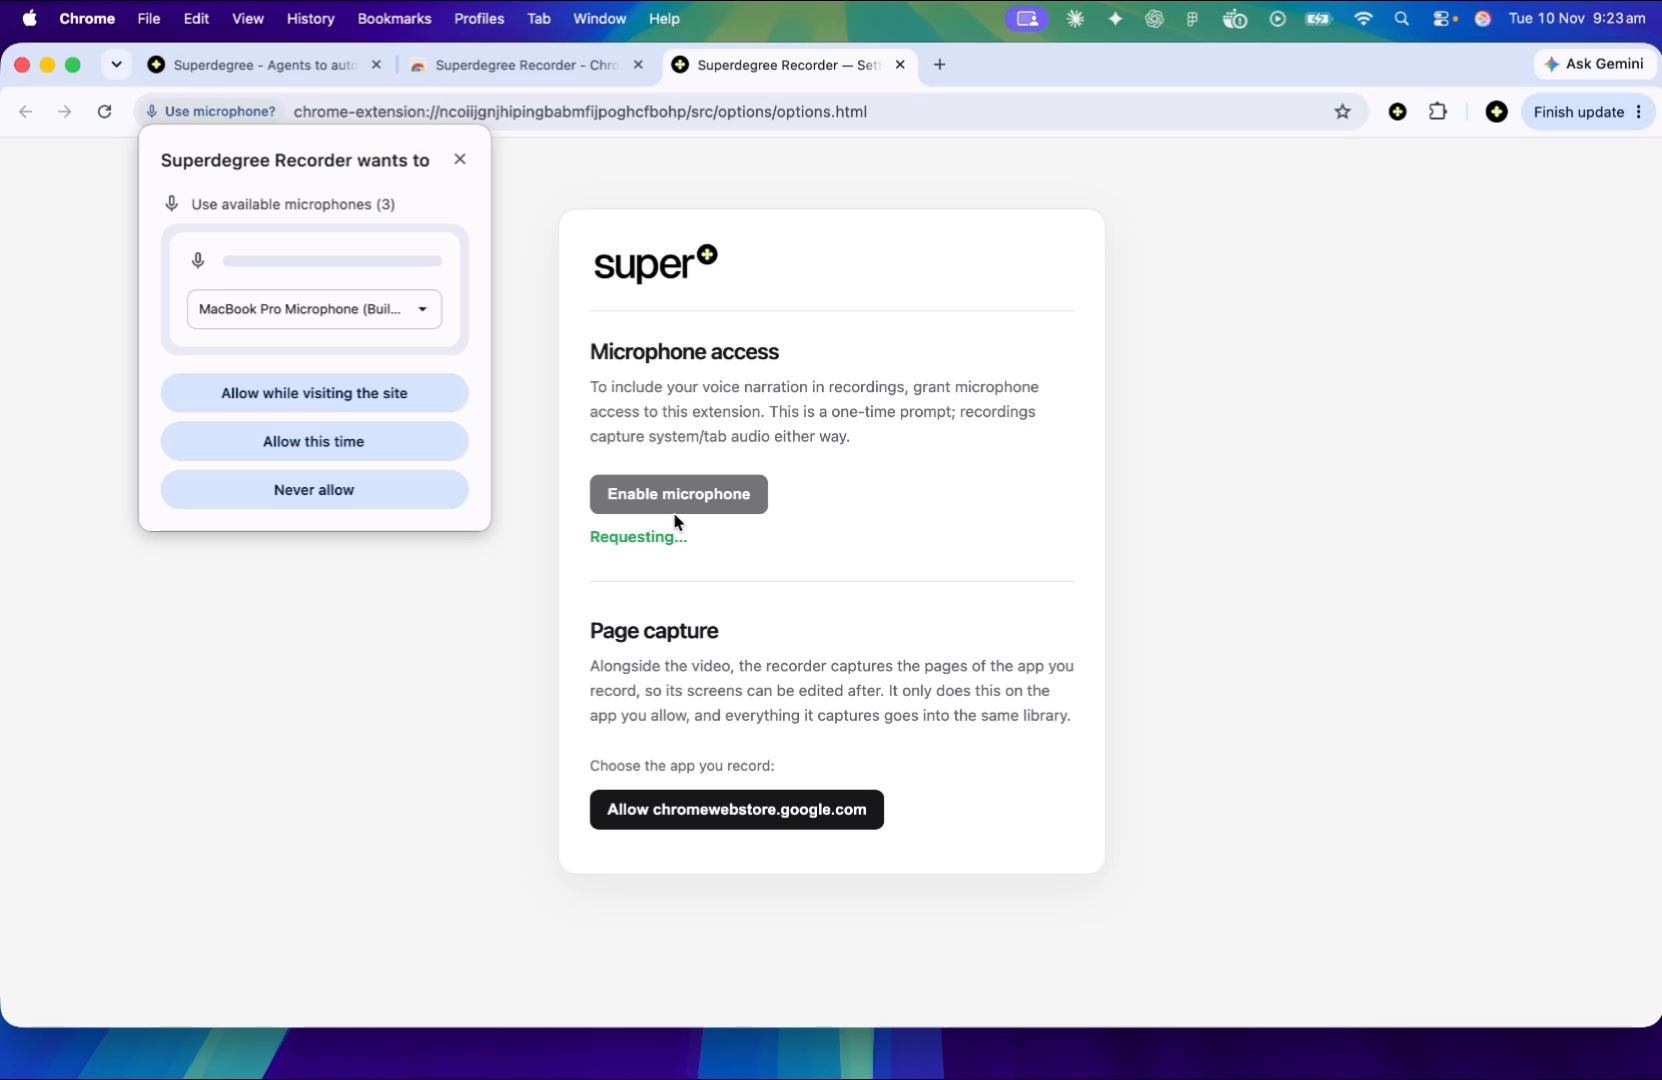
Click the microphone setup link to open audio permissions, select Enable microphone, and choose Allow while visiting the site in the browser dialog.
6. Open Your Target Application
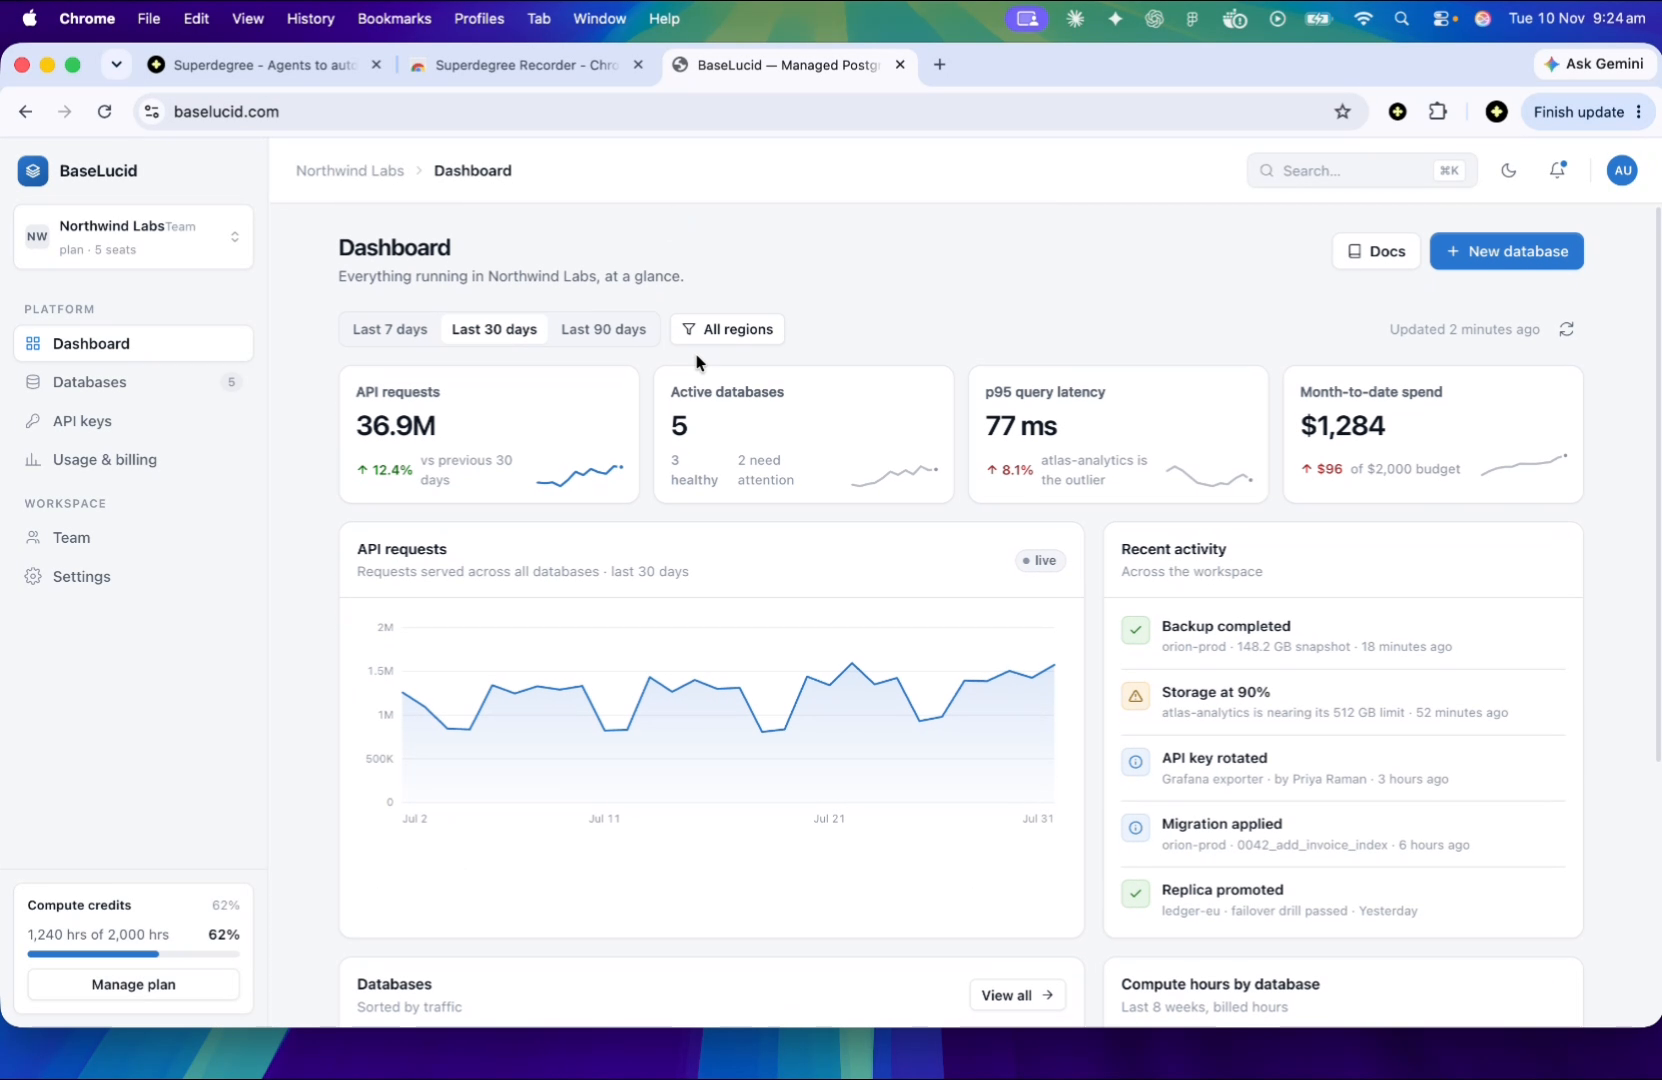
Navigate to the web application or site you want to record your walkthrough on.
7. Allow Page Capture for the Site
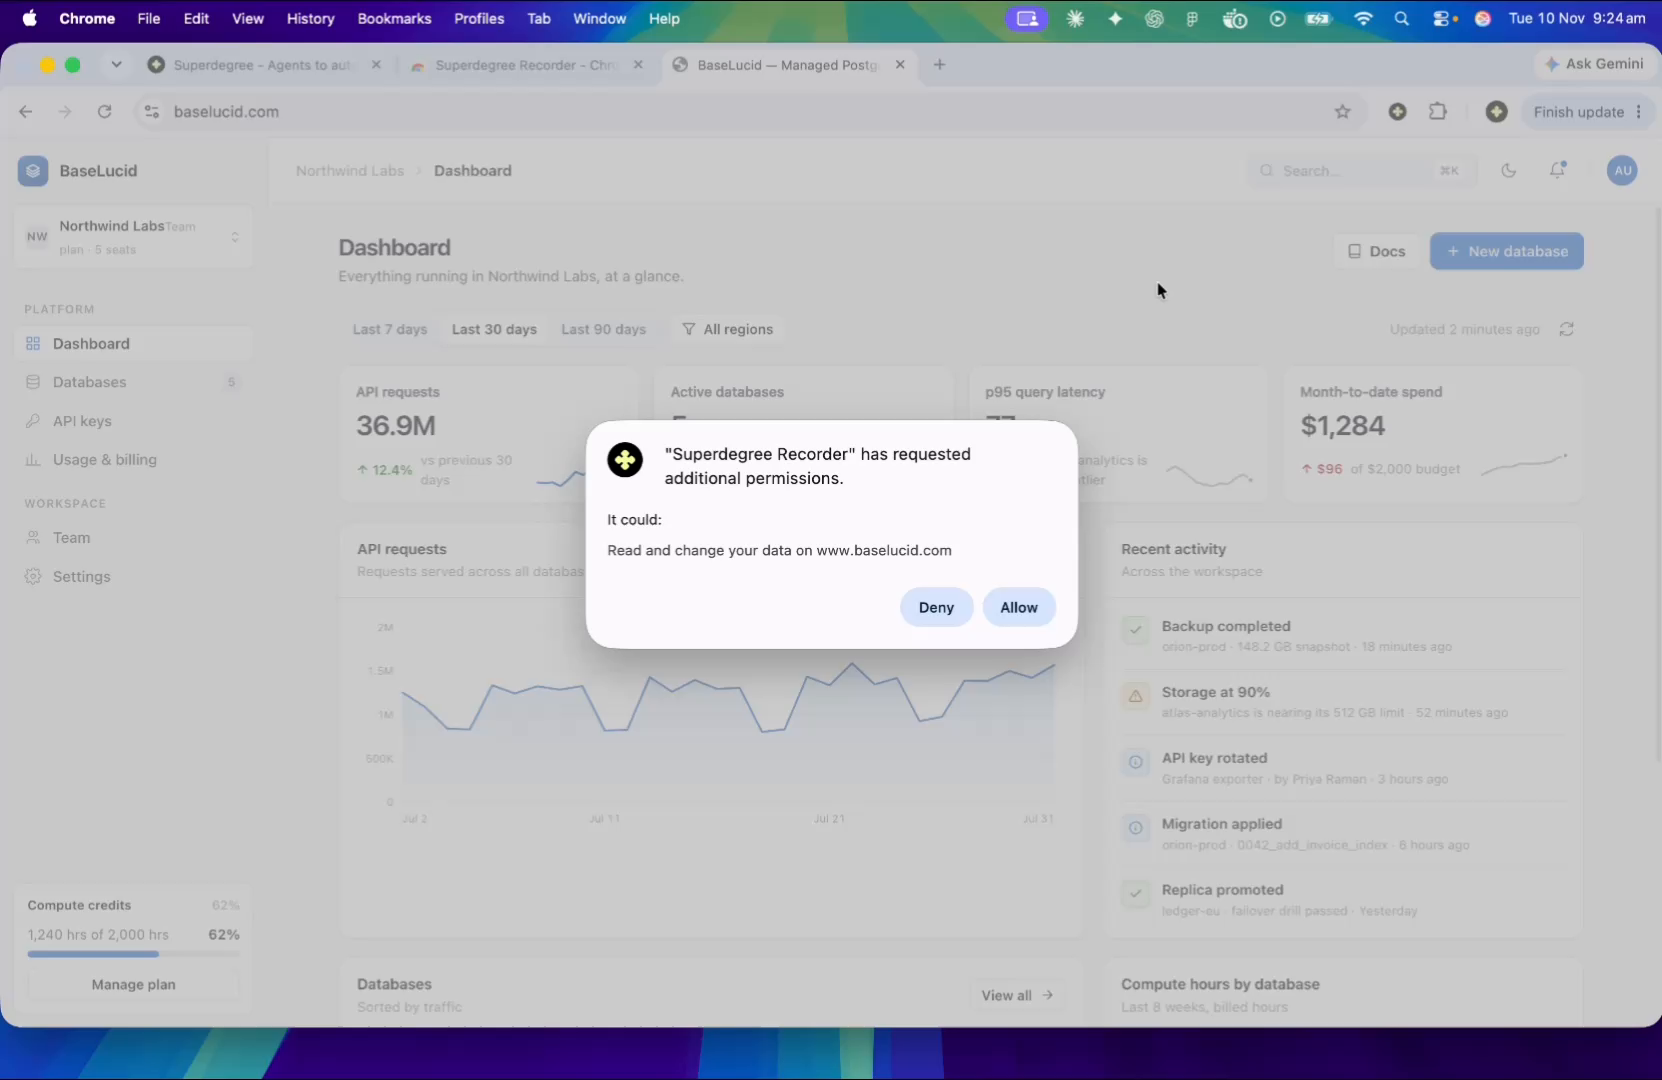
Click the Superdegree extension icon, select the option to allow page capture on your current domain, and click Allow in the browser prompt.
8. Initiate Recording
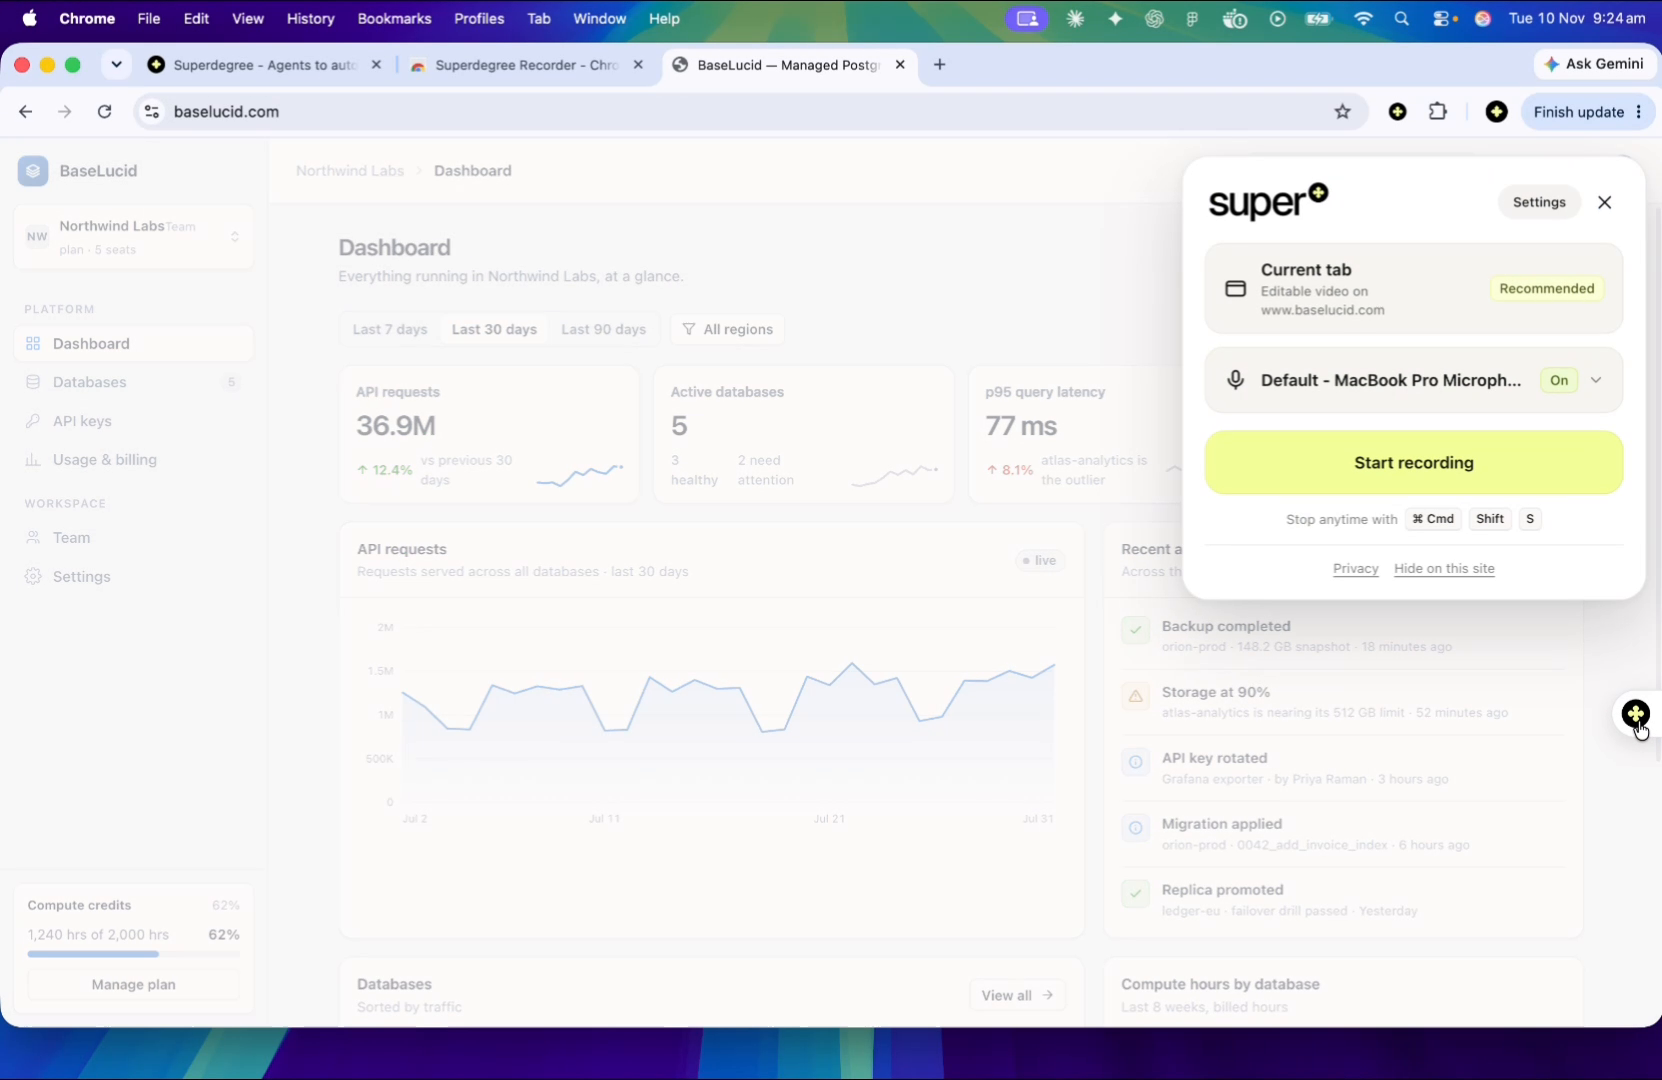
Open the Superdegree recording menu from either the extension bar or the floating on-screen badge, verify the microphone and tab settings, and click Start recording.
9. Select the Tab to Share
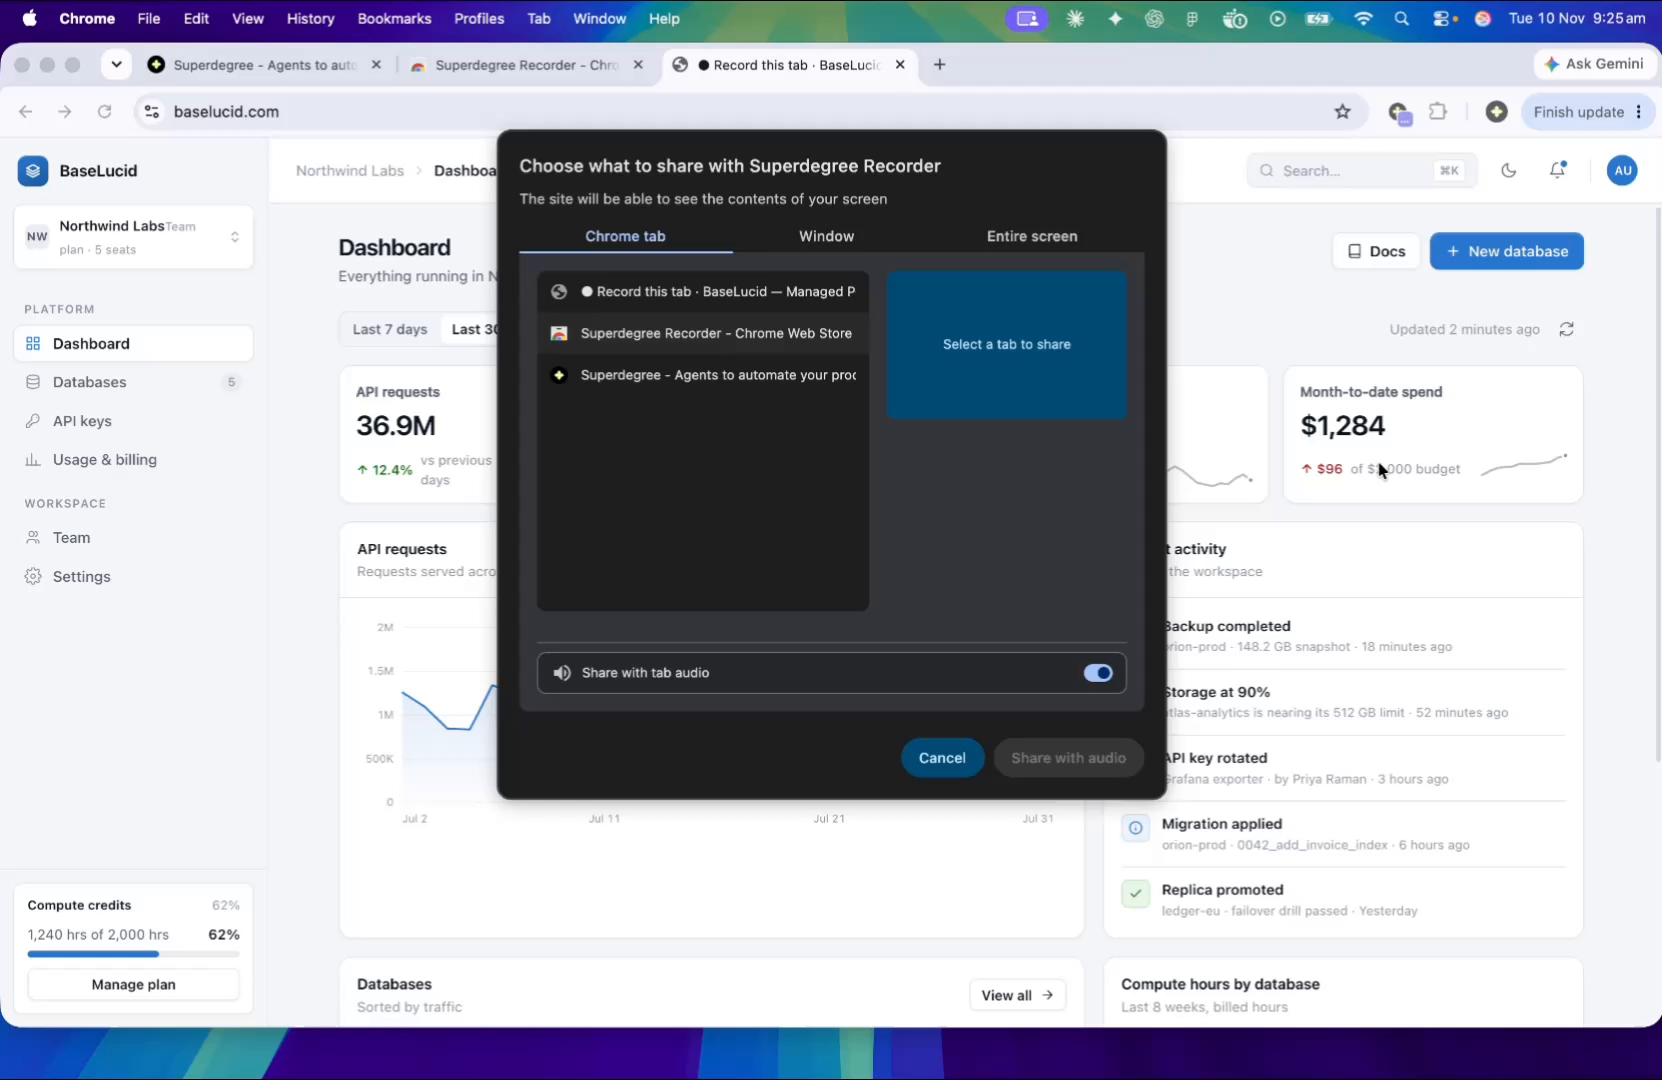
In the screen sharing modal, select the specific Chrome Tab you are recording. Make sure to choose a single tab to enable full post-capture editing capabilities, toggle Share with tab audio if needed, and click Share.
10. Perform the Product Walkthrough
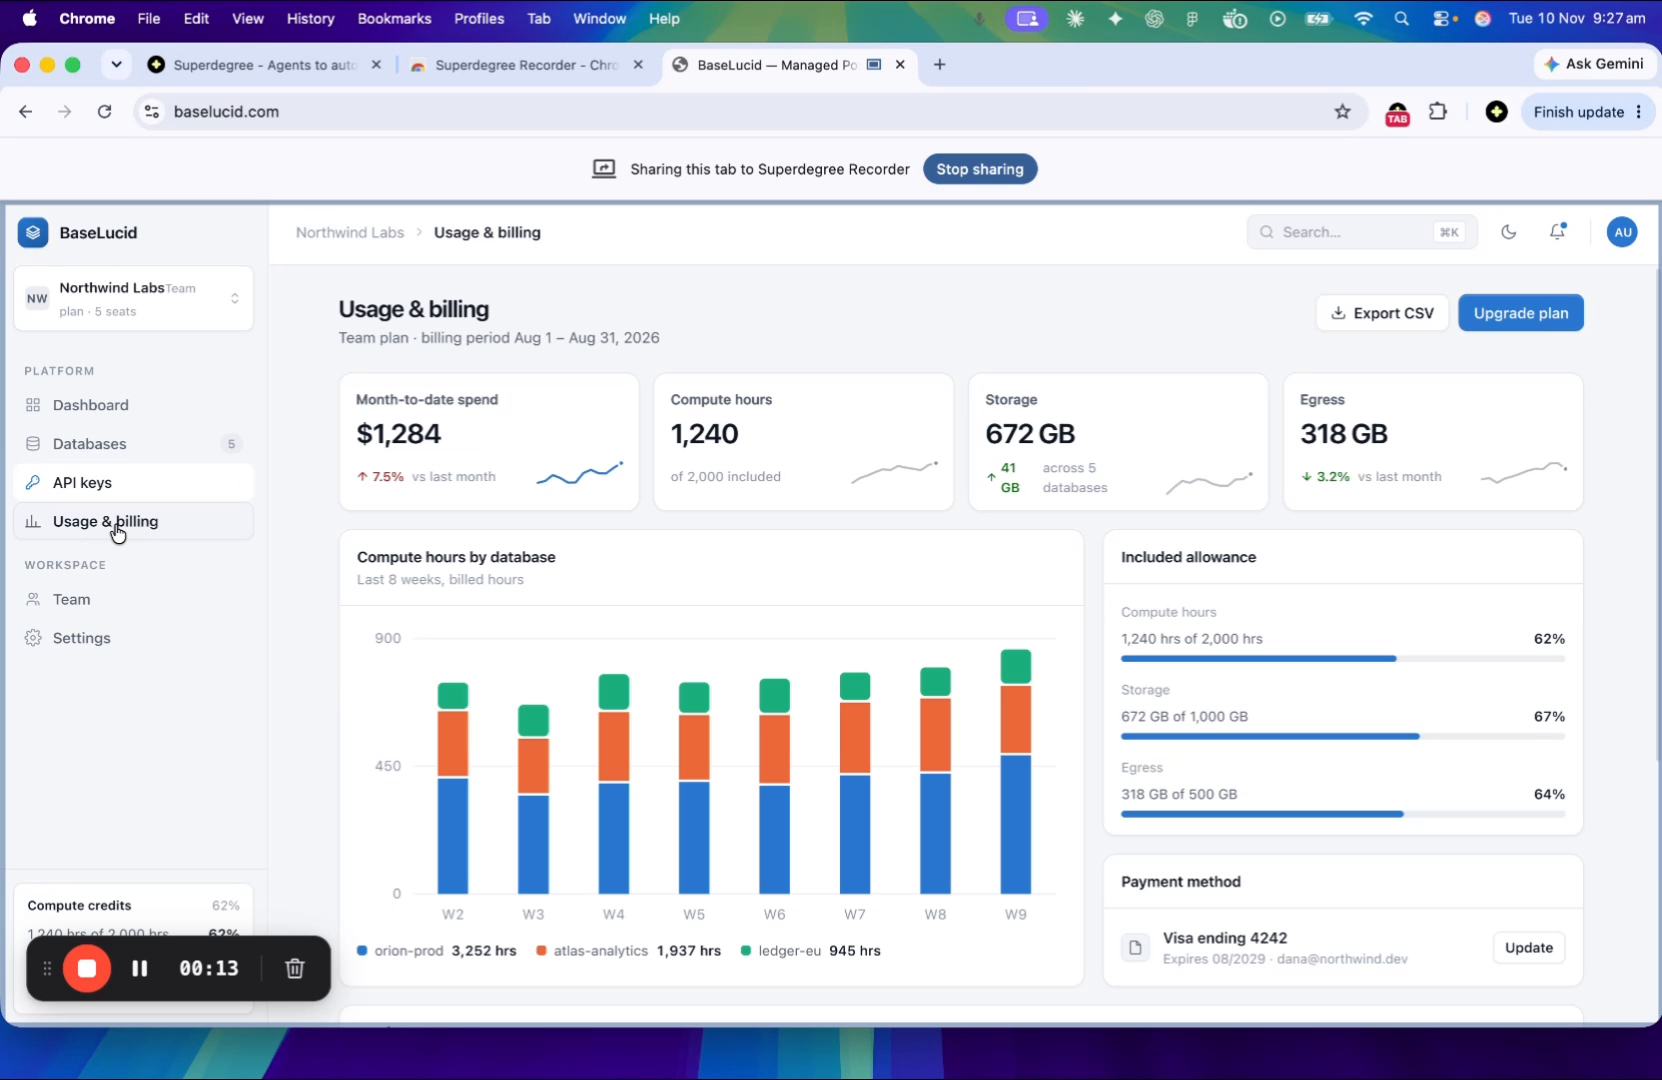
Demonstrate your workflow across the interface. The recorder tracks your actions while displaying a timer and controls in the bottom-left corner.
11. Stop and Process Recording
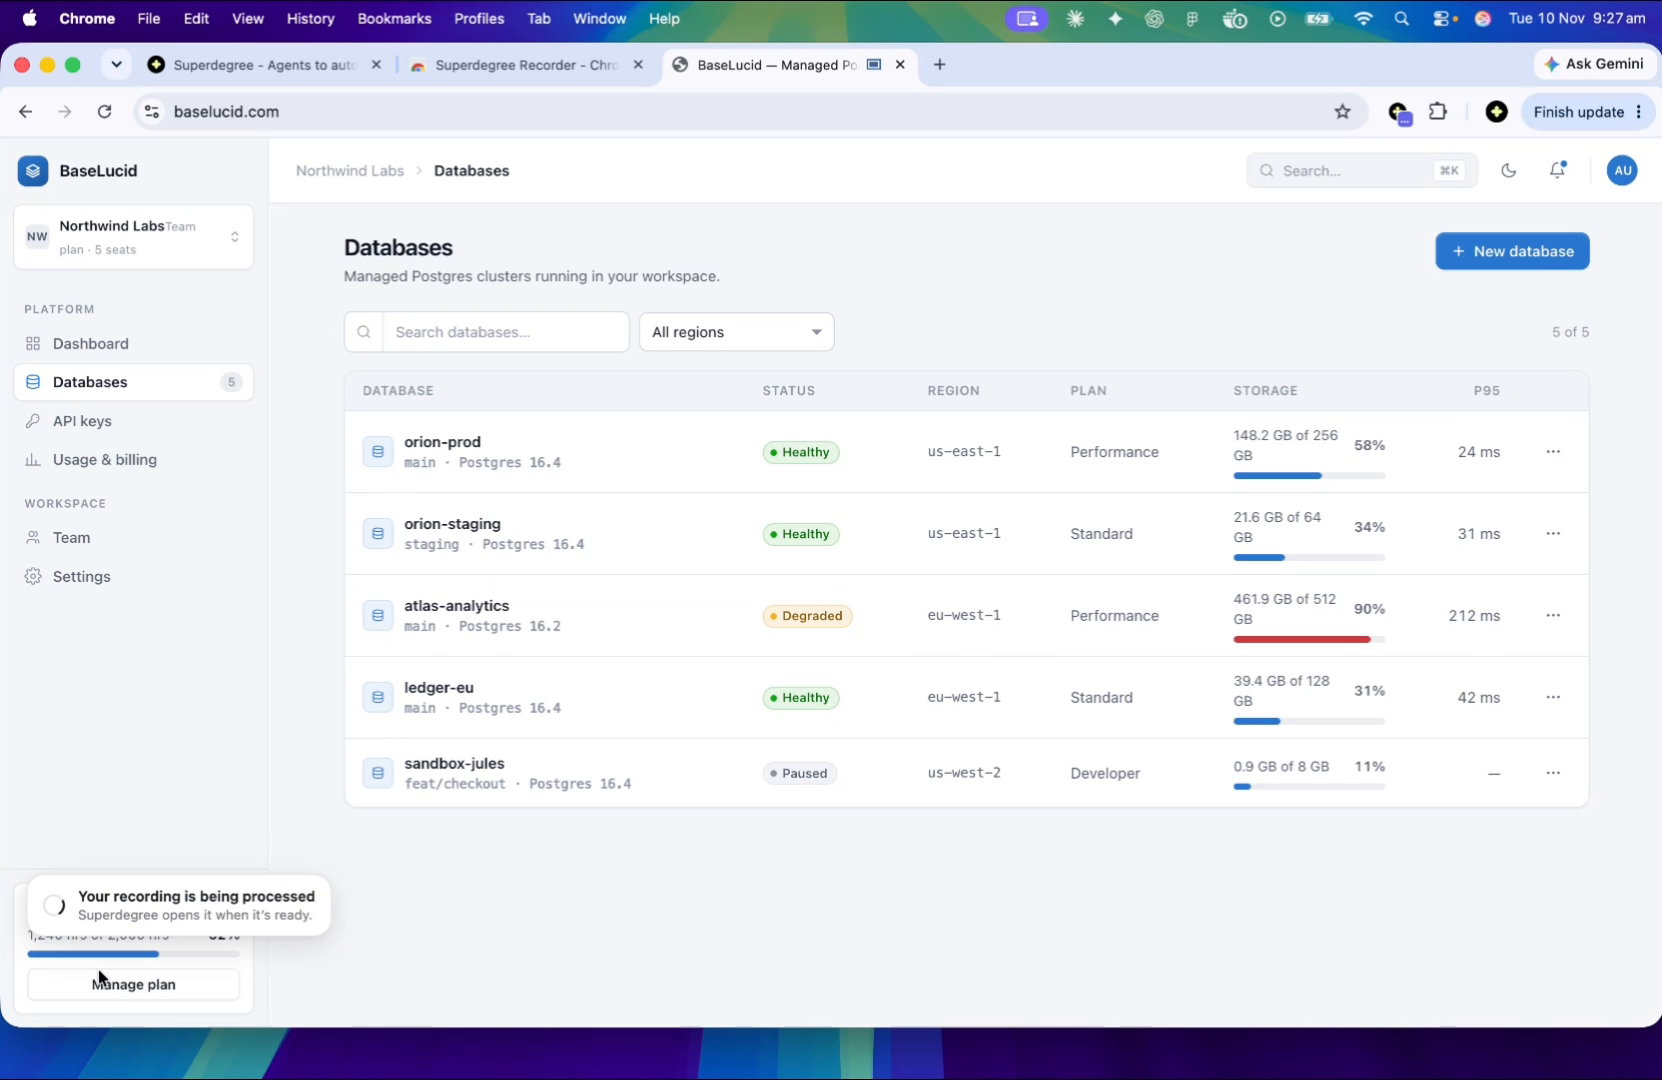
Once you have completed your steps (minimum 15 seconds), click the red Stop recording button on the floating bar. A processing notification will appear briefly.
12. Generate Walkthrough Video or Help Article
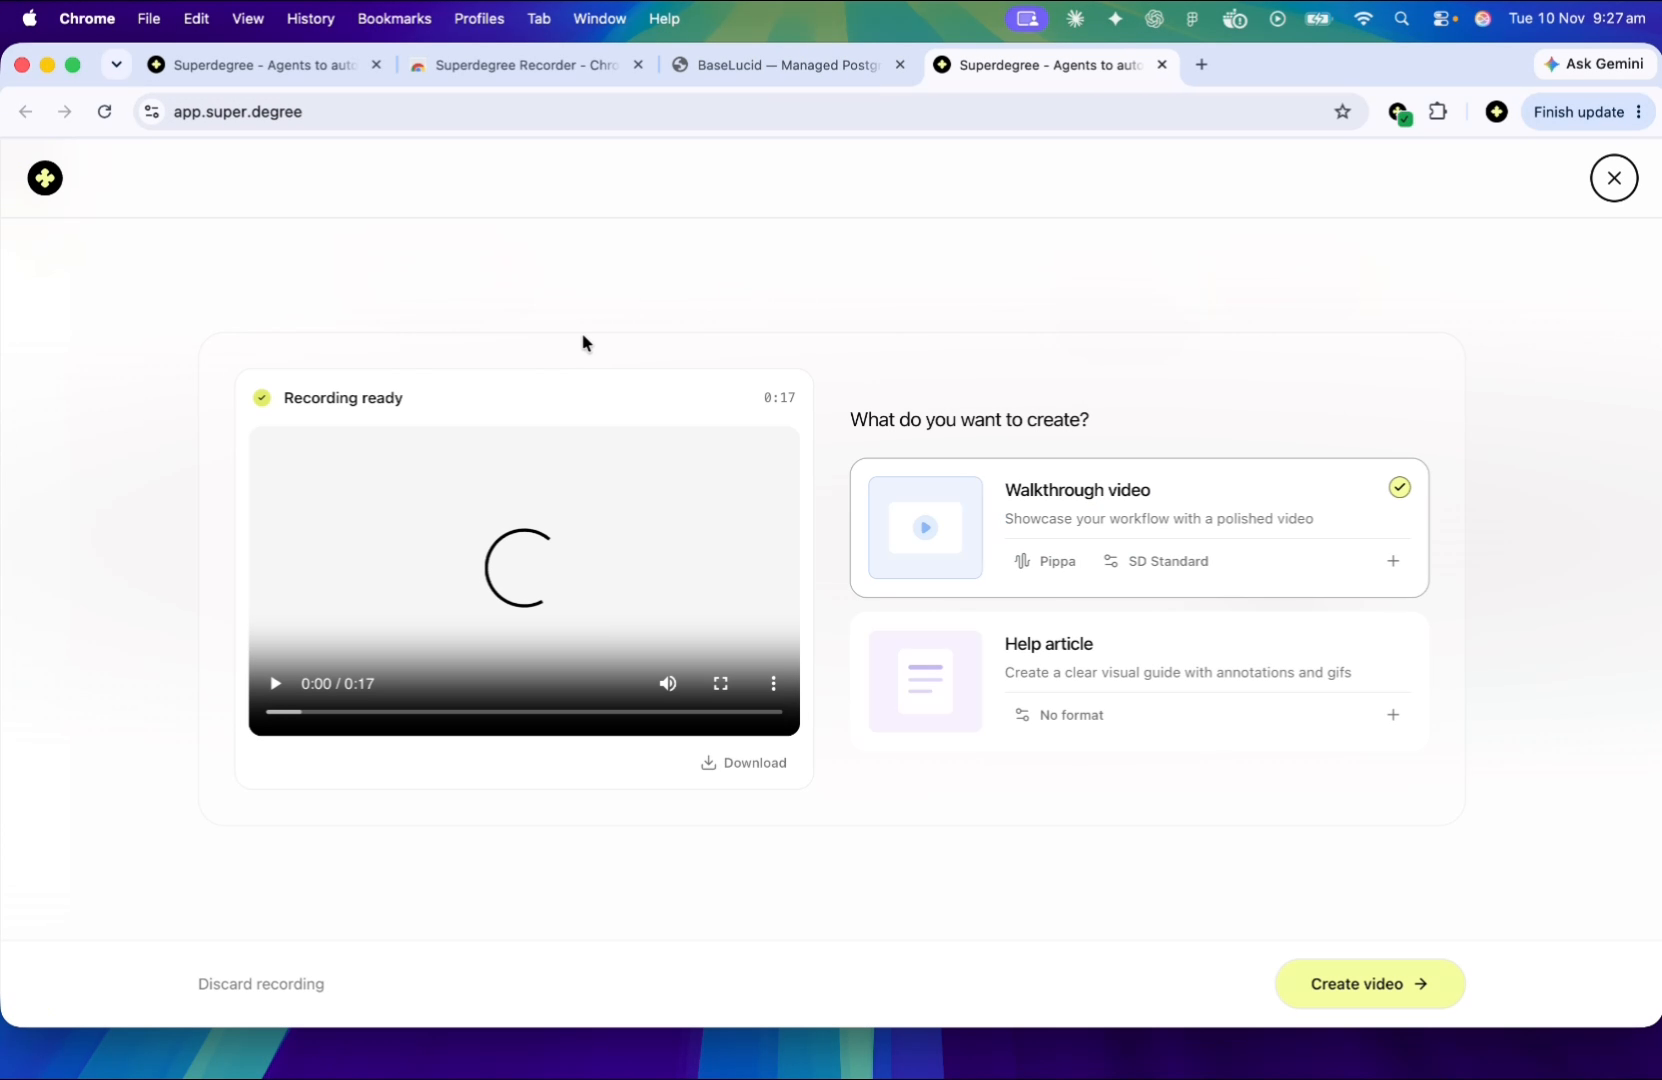
The recorded session will open automatically in Superdegree. Choose whether to output a polished Walkthrough video or a step-by-step Help article, then click Create video to finish.