

Video Editor · Article 12 of 18
Adding and Editing Pauses
This walkthrough demonstrates how to manage pauses on the timeline in the Superdegree Slide Editor. Pauses hold a video frame in place so that the visual footage matches the length of the voiceover track, preventing blank screens when audio is longer than recorded video. You will see both automatic pause adjustments after updating voiceover text and how to manually insert and resize a pause strip.
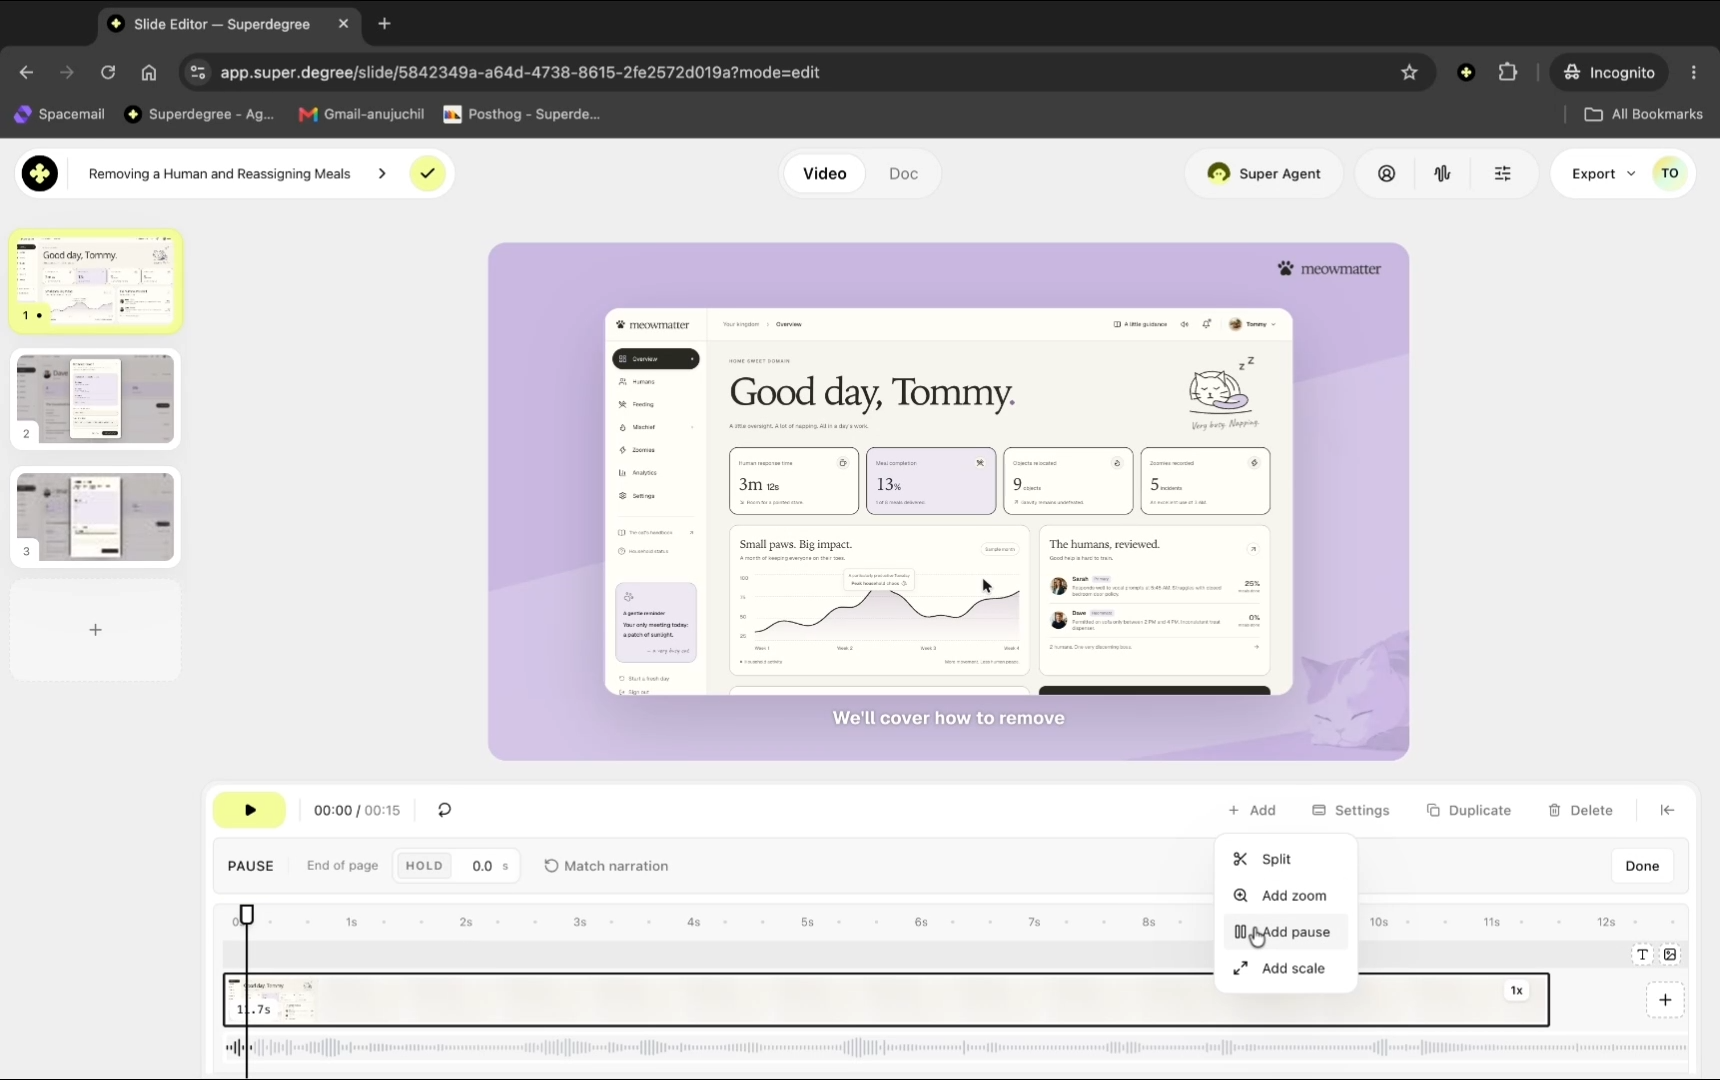
Step 1 — Open the Add menu on the timeline
Select the page timeline strip where the audio exceeds the video footage length, then click Add in the timeline toolbar. From the dropdown menu options, click Add pause to insert a new pause block onto the timeline.
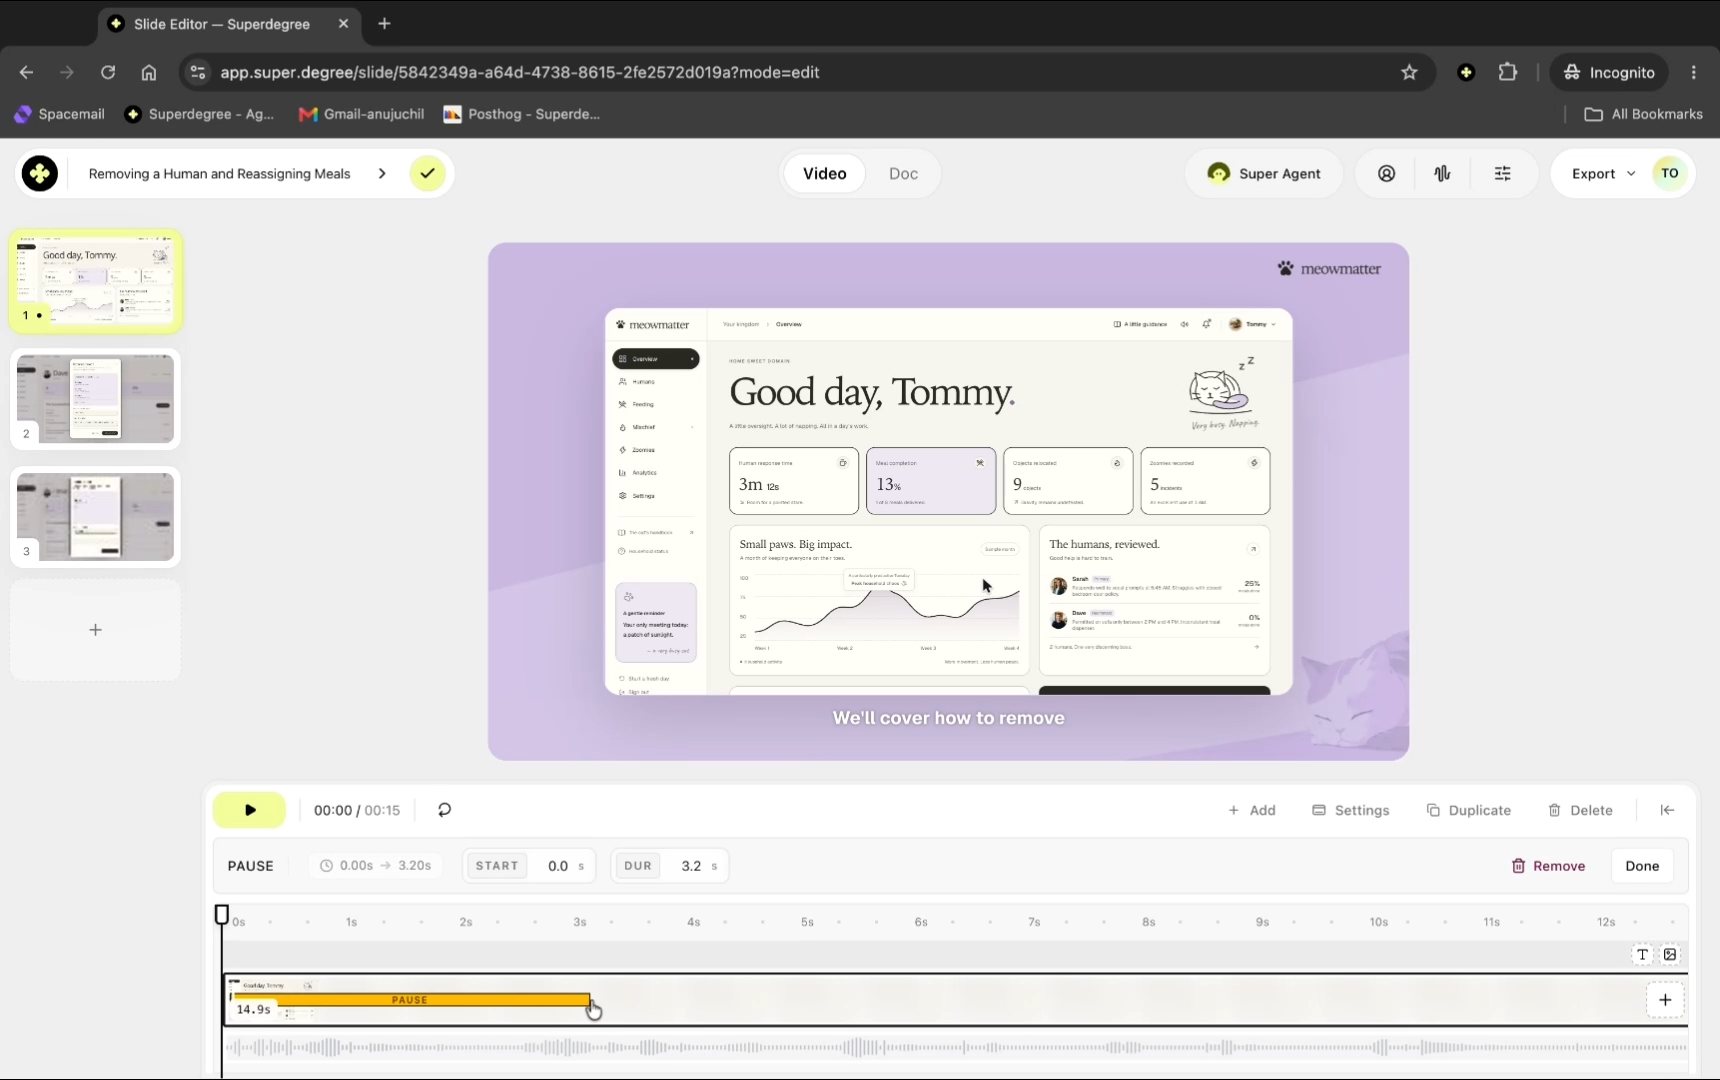
Step 2 — Position and resize the pause
Drag the pause block into position behind the footage, then drag its end handle to stretch its duration until the end of the video aligns with the audio track.
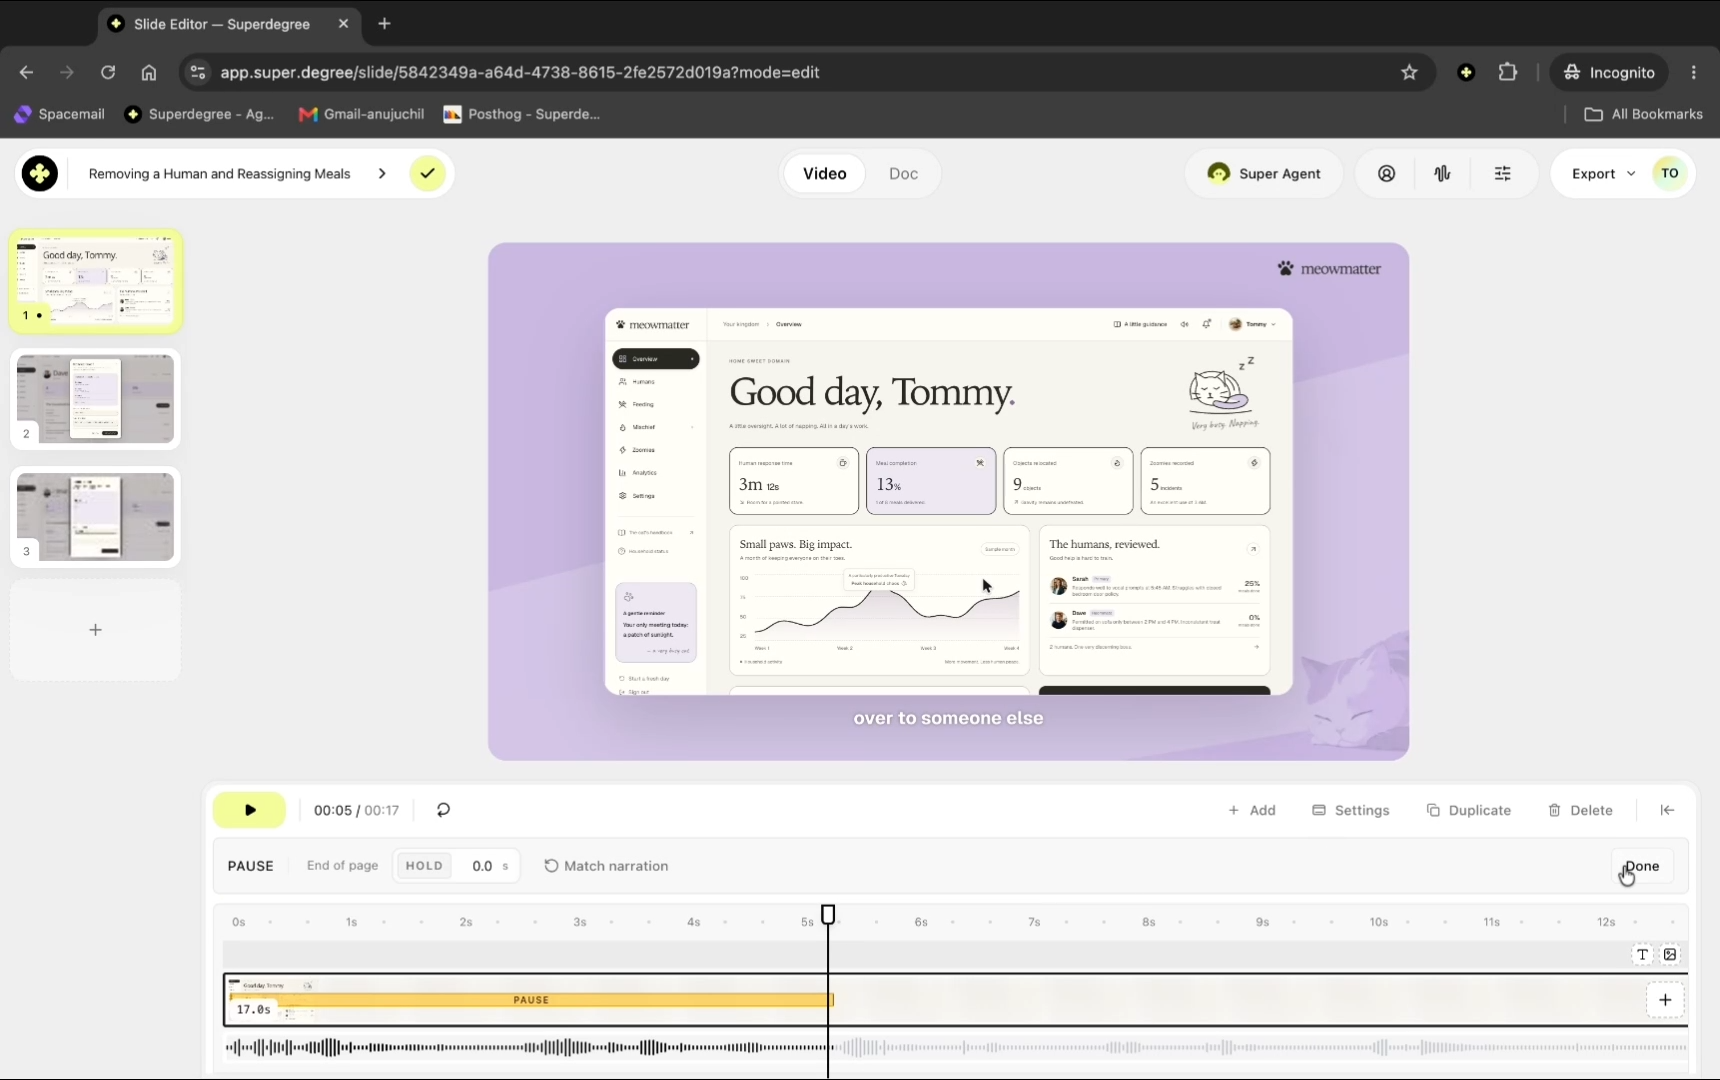
Step 3 — Pauses are auto saved, click done to finish
Once the pause is aligned to cover the entire voiceover narration, click Done to finish. The pauses are auto saved.
Result
The timeline updates with the adjusted pause block holding the final video frame across the duration of the voiceover audio, returning you to the main Slide Editor view.